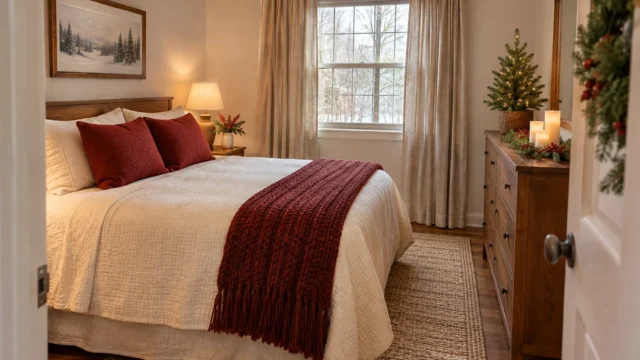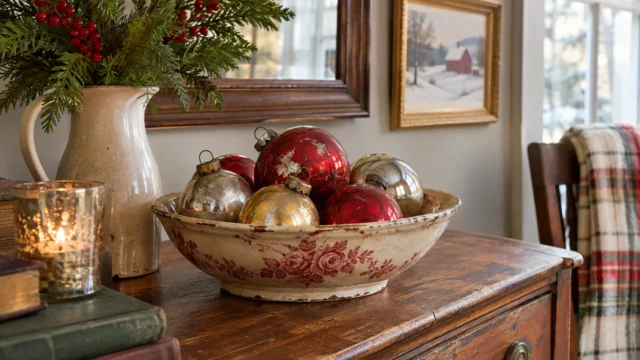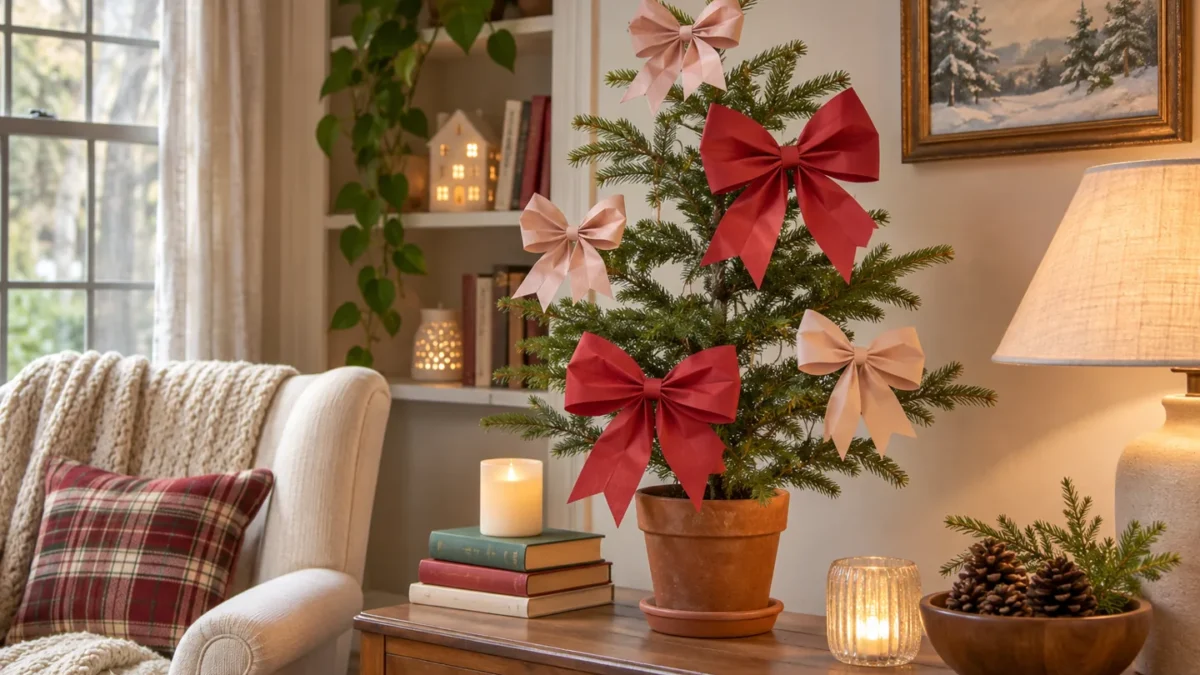
A tiny cardboard village, a tree wearing oversized bows, a wooden fox peeking between bottlebrush trees: whimsical Christmas decor is often about the detail that makes you stop and smile. It does not need a room full of expensive novelty ornaments.
The easiest way to get the look on a budget is to repeat a few cheerful colors and change the scale of familiar decorations. Make the bows a little bigger, the village a little smaller or the ribbon unexpectedly striped. Everyday bowls, saved gift wrap and toys you already own can become part of the display.
These 21 whimsical Christmas decor ideas include quick styling changes and a few simple craft projects. Choose a handful that suit your supplies and space. You can create a playful corner without replacing the Christmas decorations you already love.
Affiliate disclosure: As an Amazon Associate I earn from qualifying purchases. Shopping links below are optional Amazon comparison searches. The AI-generated images illustrate styling ideas and do not show the exact linked products.
Pick a palette before you buy anything
Start with two main colors and one quieter background. Cherry red, blush and cream make a cheerful candy-shop combination; mint, pale blue and white feel softer. If you already have a traditional green tree, let the greenery be the background instead of buying another tree in a different color.
Next, choose one place for the strongest idea: the tree, a sideboard or a bookshelf. Repeat its colors in two smaller details elsewhere. Leave everyday furniture usable and put away a few ordinary accessories before adding seasonal ones. For layout help, see our Christmas living room ideas for small spaces.
Before shopping, gather paper, ribbon, spare frames, jars, trays and small decorations you own. Set a total spending limit that includes craft supplies, not just finished decorations. A project stops being inexpensive when it requires five new tools. The ideas below are alternatives to choose from, not a shopping list to complete.
Jump to any of the 21 ideas
- Give a small tree oversized paper bows
- Make a candy-colored paper chain
- Build a gingerbread village from delivery-box cardboard
- Group pastel bottlebrush trees into a tiny forest
- Frame a piece of cheerful wrapping paper
- Let a few honeycomb ornaments take the spotlight
- Refresh an old wreath with one striped bow
- Make a little felt-mushroom woodland bowl
- Borrow toy animals for a miniature Christmas scene
- String together leftover-yarn pom-poms
- Fill an everyday bowl with bright baubles
- Turn mismatched wrapping paper into a gift-box display
- Hang folded paper stars from bare branches
- Paint wooden craft spoons as holiday characters
- Create a forest of paper cone trees
- Add star-shaped place cards to ordinary plates
- Tie colorful bows to just two dining chairs
- Suspend lightweight paper peppermints at a window
- Make dry miniature scenes in open jars
- Mix stocking patterns within the same palette
- Run a little wooden train around a tabletop tree
1. Give a small tree oversized paper bows
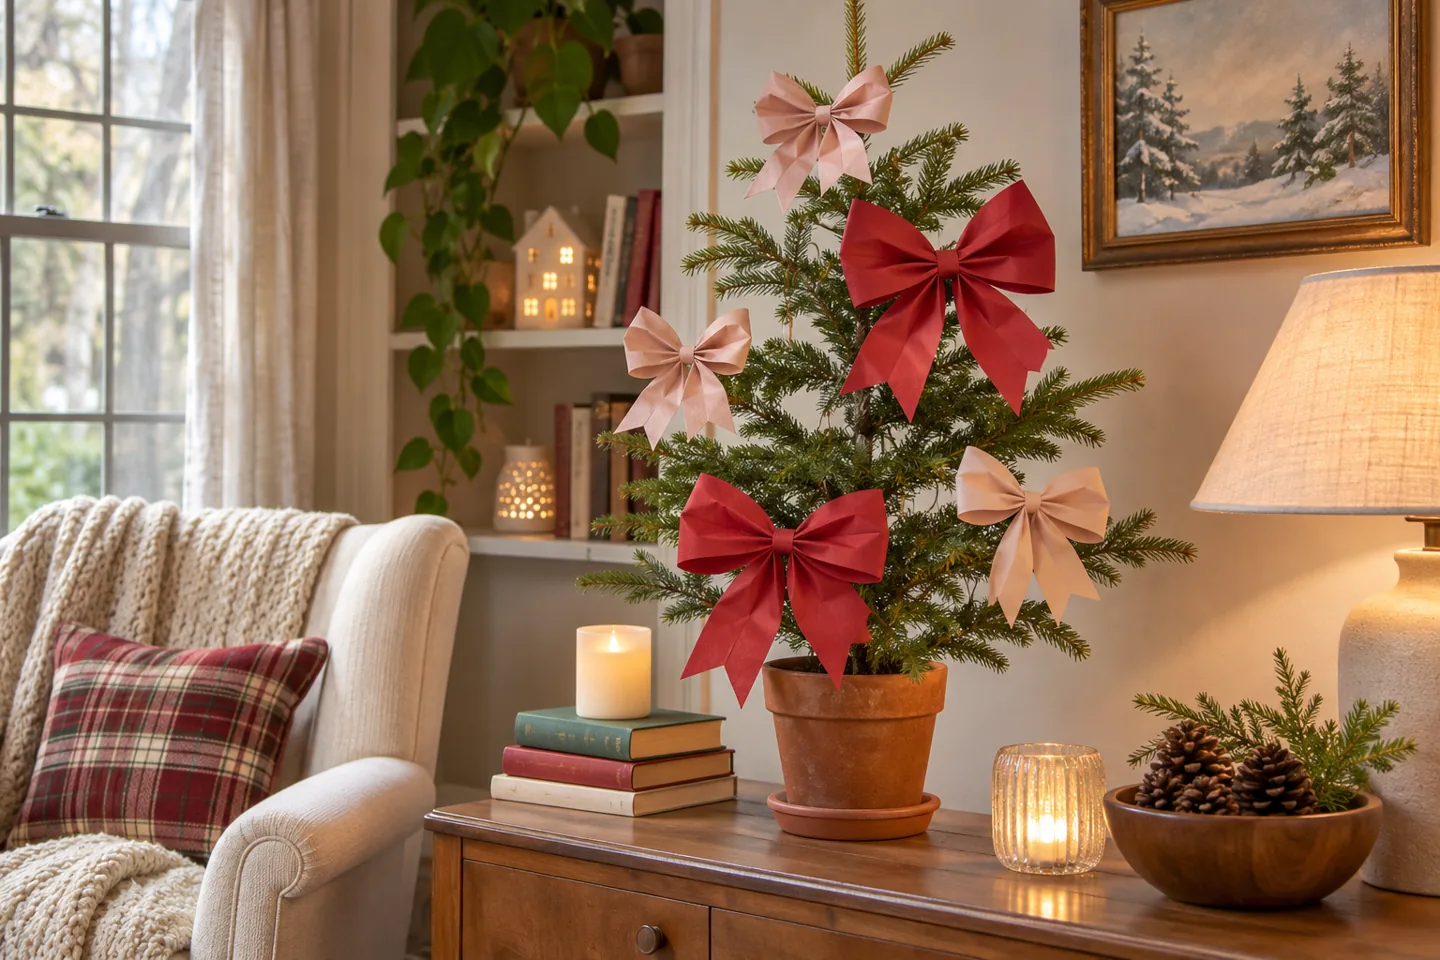
Big bows make a familiar tree feel playful without needing dozens of ornaments. Cut two wide strips of colored paper, curve their ends toward the center to form loops, and join them with a narrow paper band. Add separate tails if you like. Make one bow first to check the size against your tree before cutting the rest.
Use lightweight paper that holds a curve, then attach the finished bows with soft ties to suitable branches. Place a few near the front and sides, leaving greenery visible between them. A red-and-blush mix looks cheerful on an ordinary green tree. Saved gift wrap can work if it is sturdy enough; double a thin sheet rather than buying a new pack solely for this project.
Keep paper decorations away from heat and follow the tree-light instructions. A miniature tree needs only a few bows to establish the look.
Optional shopping: Reuse what you have first. If you need a replacement, compare dimensions, materials and storage needs before choosing.
Compare tabletop Christmas trees on Amazon
Optional affiliate link · Opens search results, not a single product.
2. Make a candy-colored paper chain
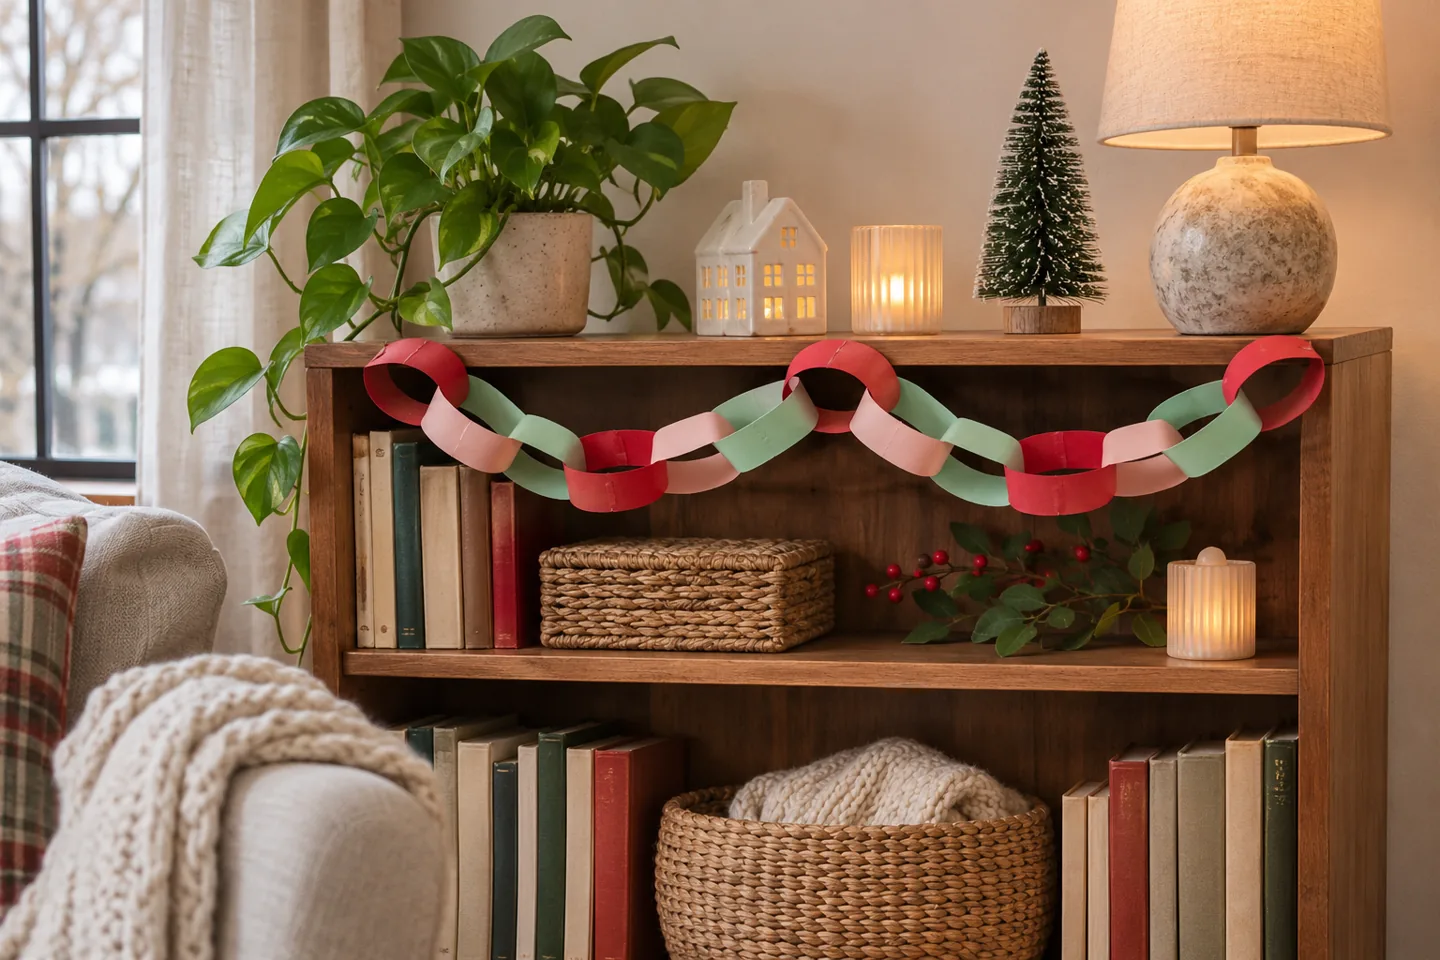
A paper chain feels surprisingly fresh when its colors are deliberate. Choose red, mint and pink, cut strips of a similar width, and repeat the colors in the same order. Close each loop with suitable craft adhesive and allow the joins to dry before moving the chain.
Try it across one low bookcase instead of stretching it around the entire room. The small area keeps the project manageable and makes the colors easier to notice. Use suitable existing supports and avoid putting strain on shelves or objects. Paper scraps with plain backs can provide the quieter links between brighter patterns.
If the chain looks too busy, remove one color rather than adding more decoration around it. Store it loosely in a roomy box, or recycle suitable uncoated paper when you are finished.
3. Build a gingerbread village from delivery-box cardboard
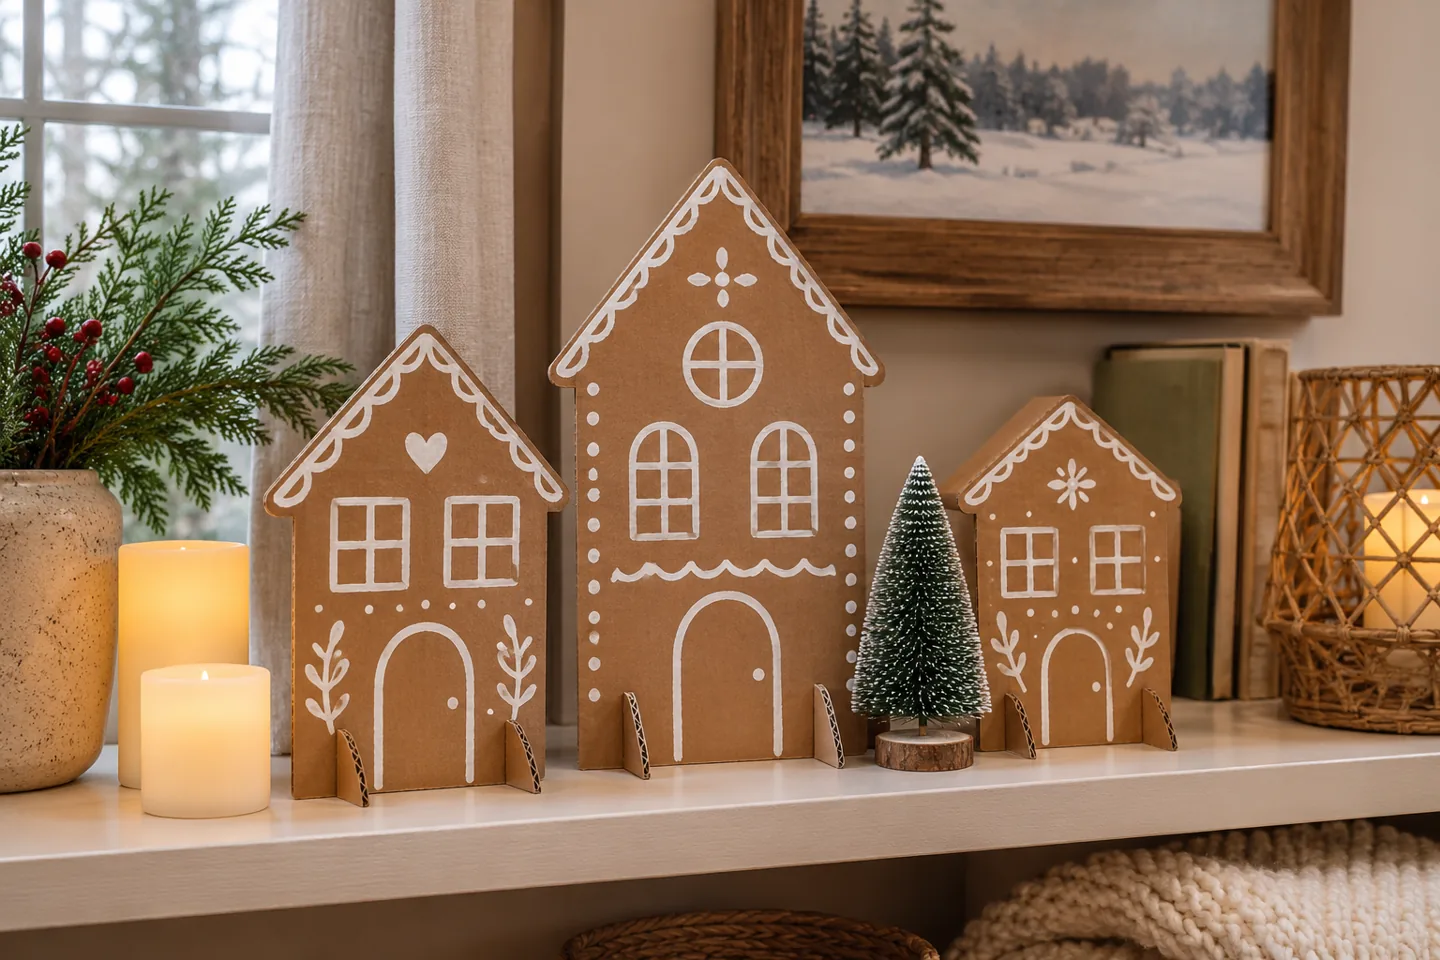
Flatten a clean cardboard box and draw three house shapes with triangular roofs. Cut them out, then add doors, windows and simple icing-like lines with a white paint pen or paint you already own. There is no need to cut out the windows: drawing them keeps the project quicker and the houses sturdier.
Make each facade stand with a small folded cardboard support attached behind it. Test the support before placing the house on a shelf. Arrange the tallest house at the back and add one miniature tree if you have one. Keep the brown cardboard visible; that is what gives the village its gingerbread character.
This is decorative cardboard, so keep it dry and away from heat. It provides the storybook look without a baking project, and the flat houses are easy to store.
4. Group pastel bottlebrush trees into a tiny forest
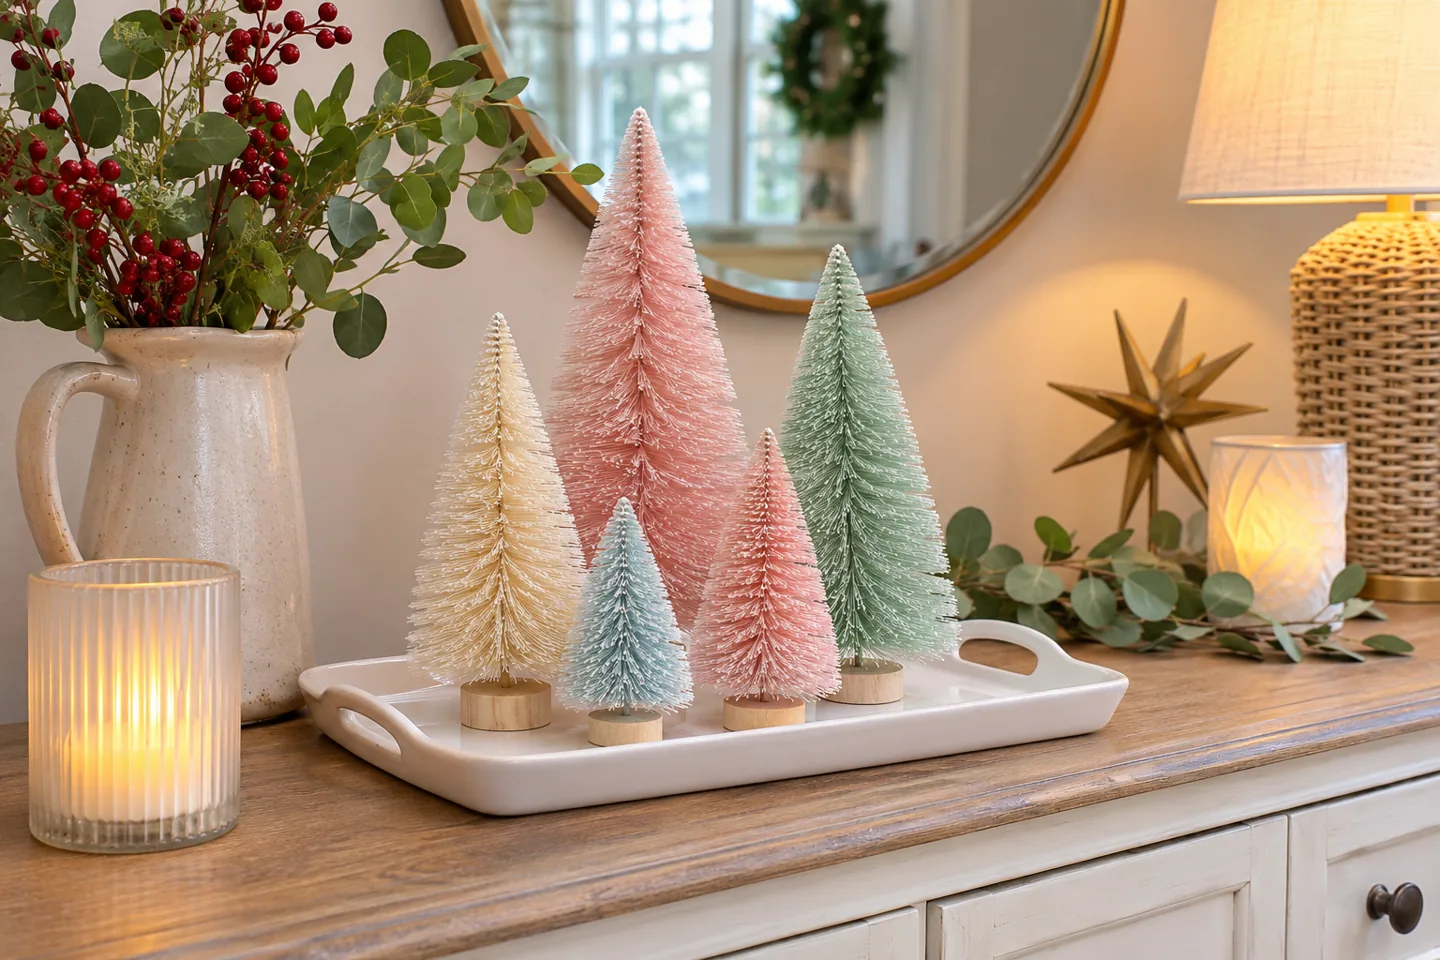
Instead of scattering miniature trees around the house, gather them on one tray. Choose different heights and place the tallest slightly off-center at the back. Leave small gaps between the trees so you can see their shapes; the arrangement should suggest a forest rather than a solid hedge.
A white serving tray gives mixed pastel colors a calm base. Use the trees you already own, even if there are only three. You can introduce a new color with a paper cone tree rather than buying a matching set. There is no need to add glitter or loose artificial snow.
If you decide to buy more, check the actual heights and base sizes. Listing photos can make tiny craft trees look much larger, so measure the intended shelf first.
Optional shopping: Reuse what you have first. If you need a replacement, compare dimensions, materials and storage needs before choosing.
Browse pastel miniature trees on Amazon
Optional affiliate link · Opens search results, not a single product.
5. Frame a piece of cheerful wrapping paper
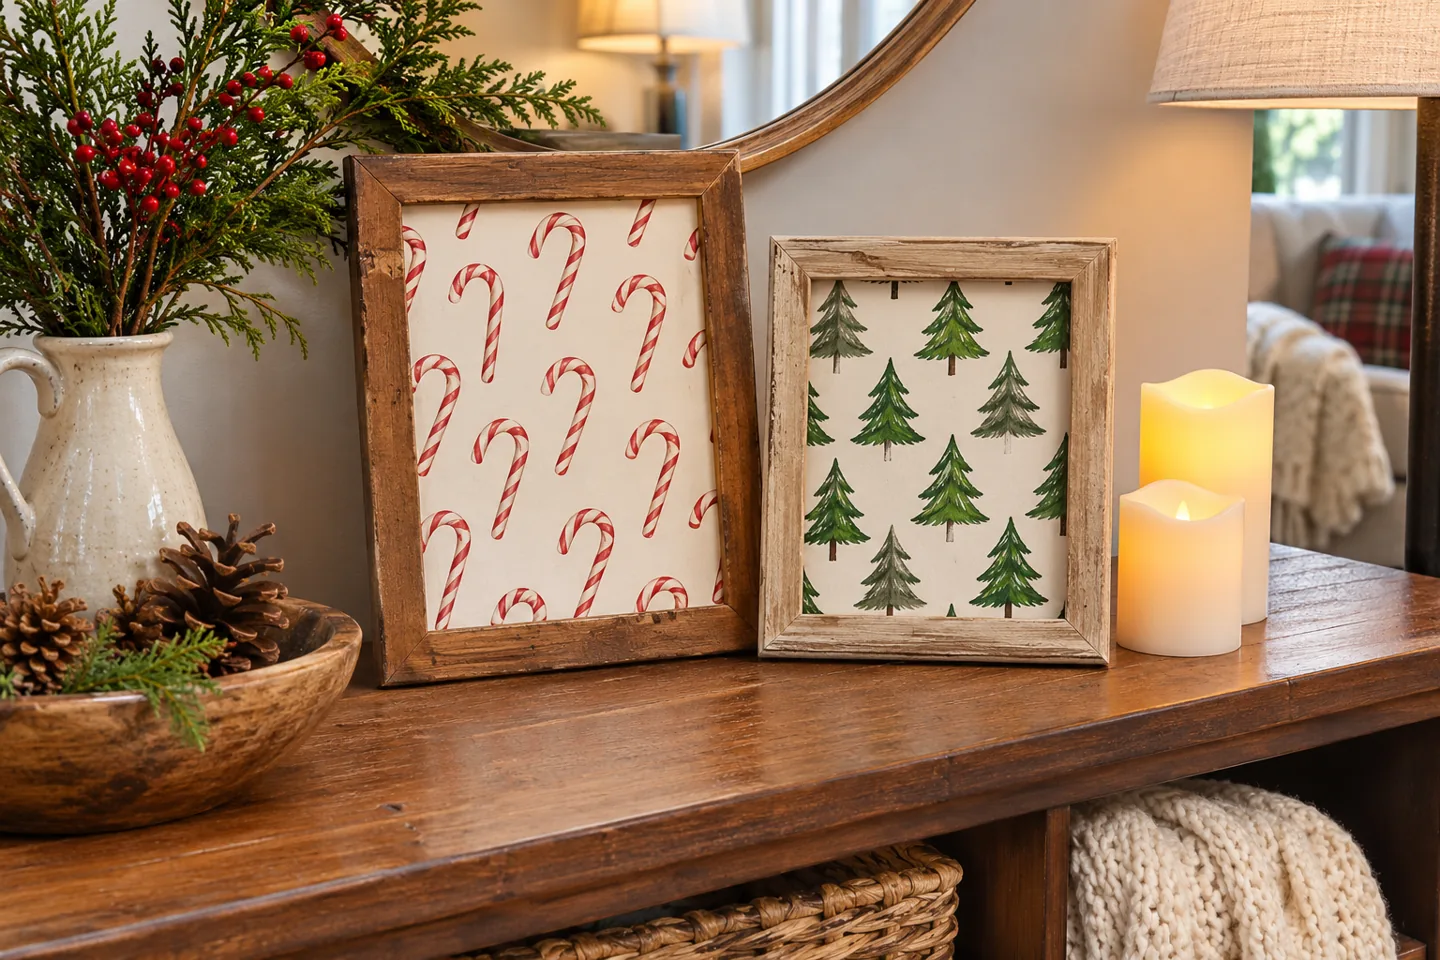
Gift wrap with candy canes, little trees or oversized dots can become seasonal art. Cut a piece to fit an existing frame and choose a section where the pattern looks balanced. A small frame may suit one clear motif better than a busy crop containing half of several different shapes.
Stand two frames on a console, mixing their sizes while keeping the colors related. Use the frames’ intended stands rather than balancing them precariously against another decoration. Keep the everyday photographs somewhere protected so they can return after Christmas.
If the paper curls, flatten it gently under a book before framing. This is a good use for the attractive scraps left after wrapping gifts, and you can change the design next year without buying more wall art.
6. Let a few honeycomb ornaments take the spotlight
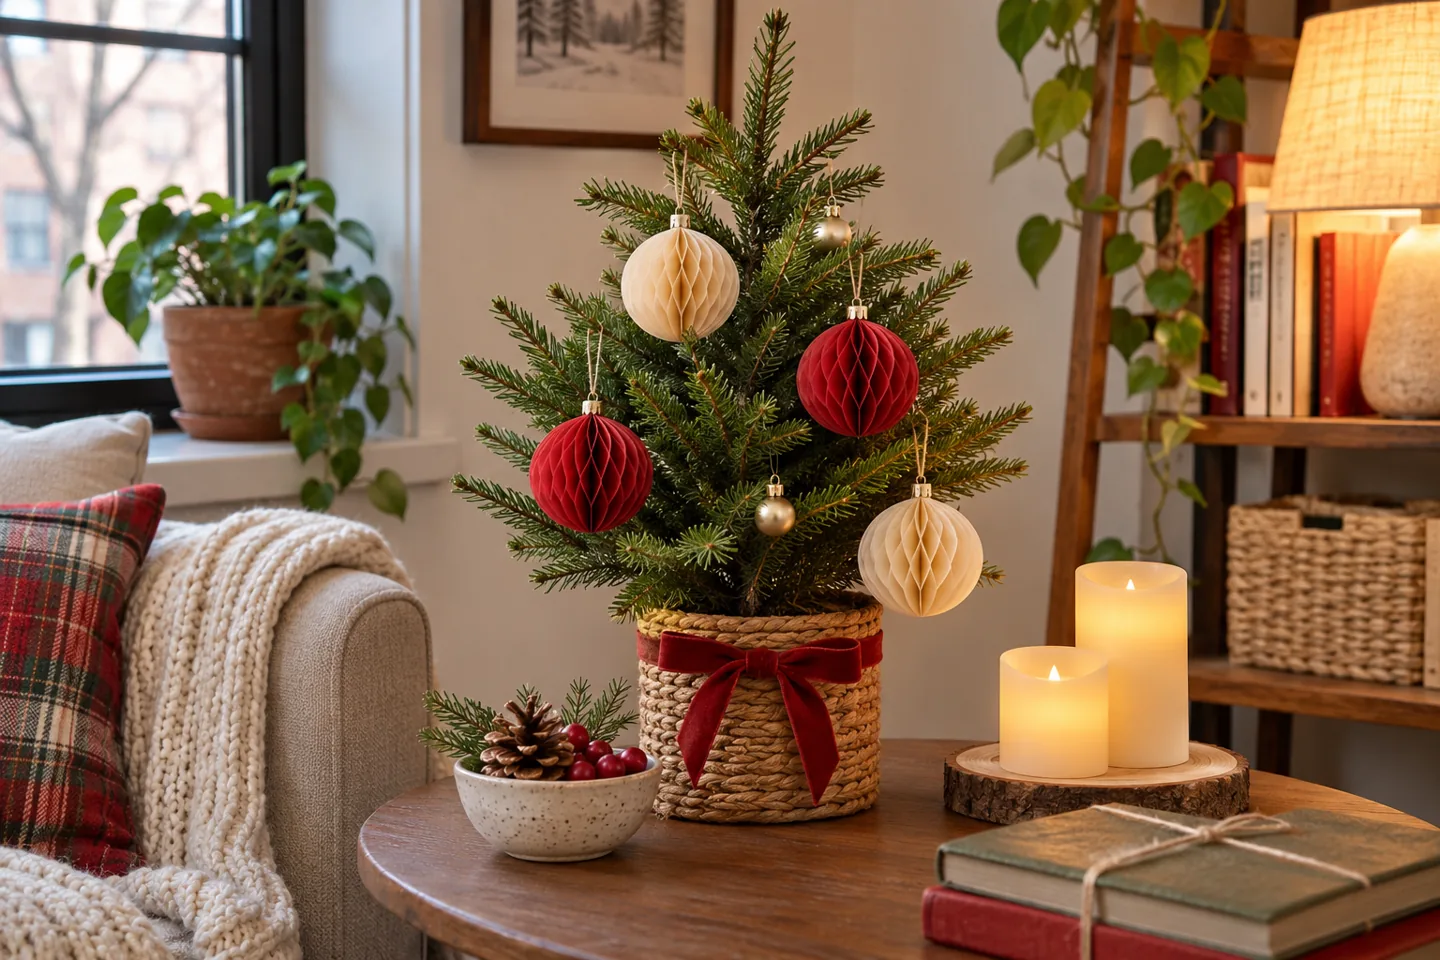
Paper honeycomb balls add a soft, sculptural shape to a small tree. Use only a few, spaced apart, and let their color do most of the decorating. Red and cream look festive against greenery; pink and pale blue create a more candy-colored effect.
Check that each ornament is light enough for its branch and use the supplied closure as intended. If it can be opened and folded flat, avoid permanently gluing it just to speed up decorating. Flat storage is one of the advantages of paper ornaments.
Borrow fold-out decorations from a previous birthday or celebration if the colors work. You do not need a product labeled Christmas for this idea. Skip damaged pieces that will not close properly, and keep the paper clear of anything warm.
7. Refresh an old wreath with one striped bow
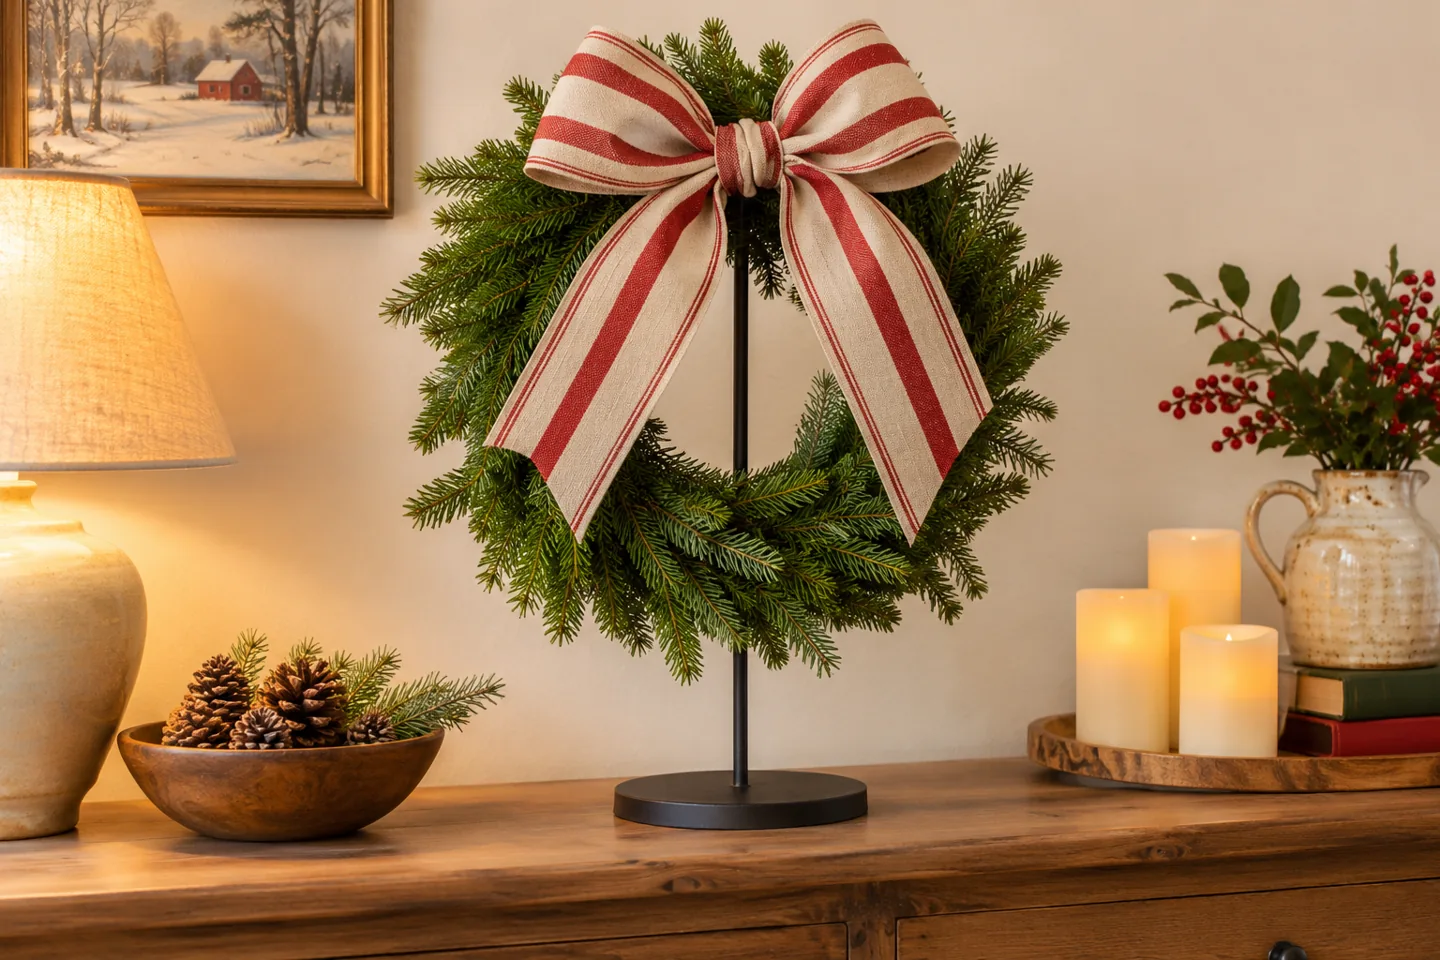
A plain wreath can look entirely different with a generous red-and-cream striped bow. Tie two loops with a long piece of ribbon, adjust them until they look balanced, then trim the tails to suit the wreath. Stripes supply enough pattern that extra ornaments may be unnecessary.
Place the bow slightly off-center for a relaxed effect or at the top for a more traditional outline. A wreath on a suitable freestanding stand works well if you do not want another wall attachment. Keep its base steady and check that the stand can support the wreath’s weight.
Use the wreath you already own before considering an upgrade. If you need a replacement, compare diameter, depth and storage space; a full-size wreath can overwhelm a narrow apartment console.
Optional shopping: Reuse what you have first. If you need a replacement, compare dimensions, materials and storage needs before choosing.
Compare reusable Christmas wreaths on Amazon
Optional affiliate link · Opens search results, not a single product.
8. Make a little felt-mushroom woodland bowl
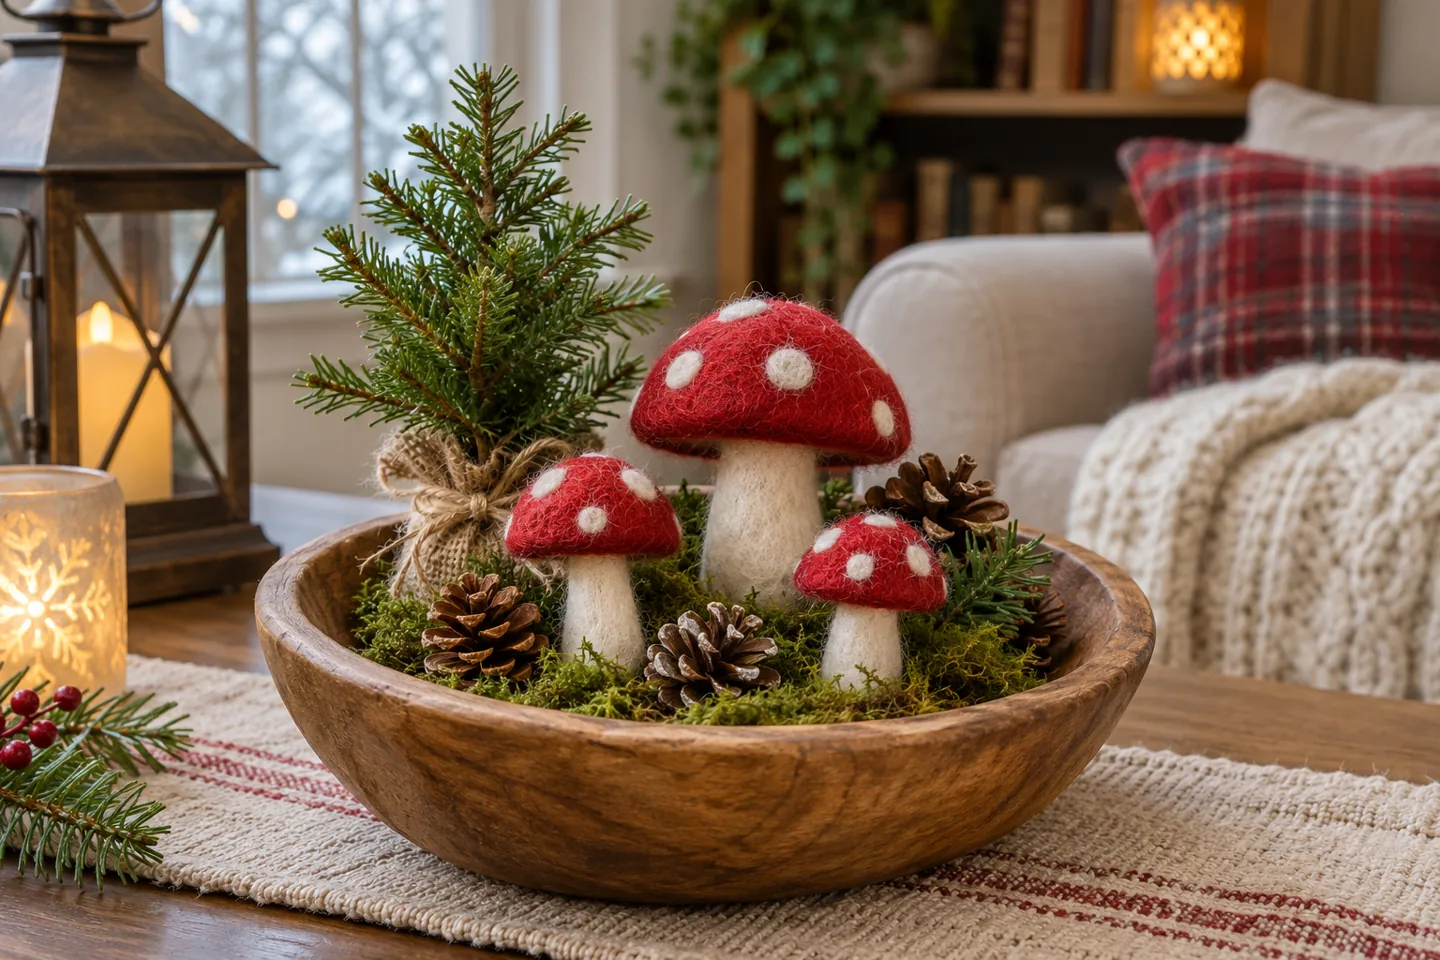
A few soft mushroom decorations can turn an everyday bowl into a miniature woodland scene. Combine them with tiny pinecones or a small faux tree, using one mushroom as the tallest shape. Leave some of the bowl visible so the arrangement feels light rather than packed with craft supplies.
For a simple handmade version, cut a red felt cap and a cream stem as flat shapes, add a few white felt spots, and attach the finished piece to a folded card support. You do not have to sew a three-dimensional ornament to suggest the shape.
Choose felt from supplies you already have, or reuse suitable fabric scraps. These are display decorations, not toys or edible objects. Keep small detachable details out of reach where needed, and use a shallow bowl that will not tip.
9. Borrow toy animals for a miniature Christmas scene
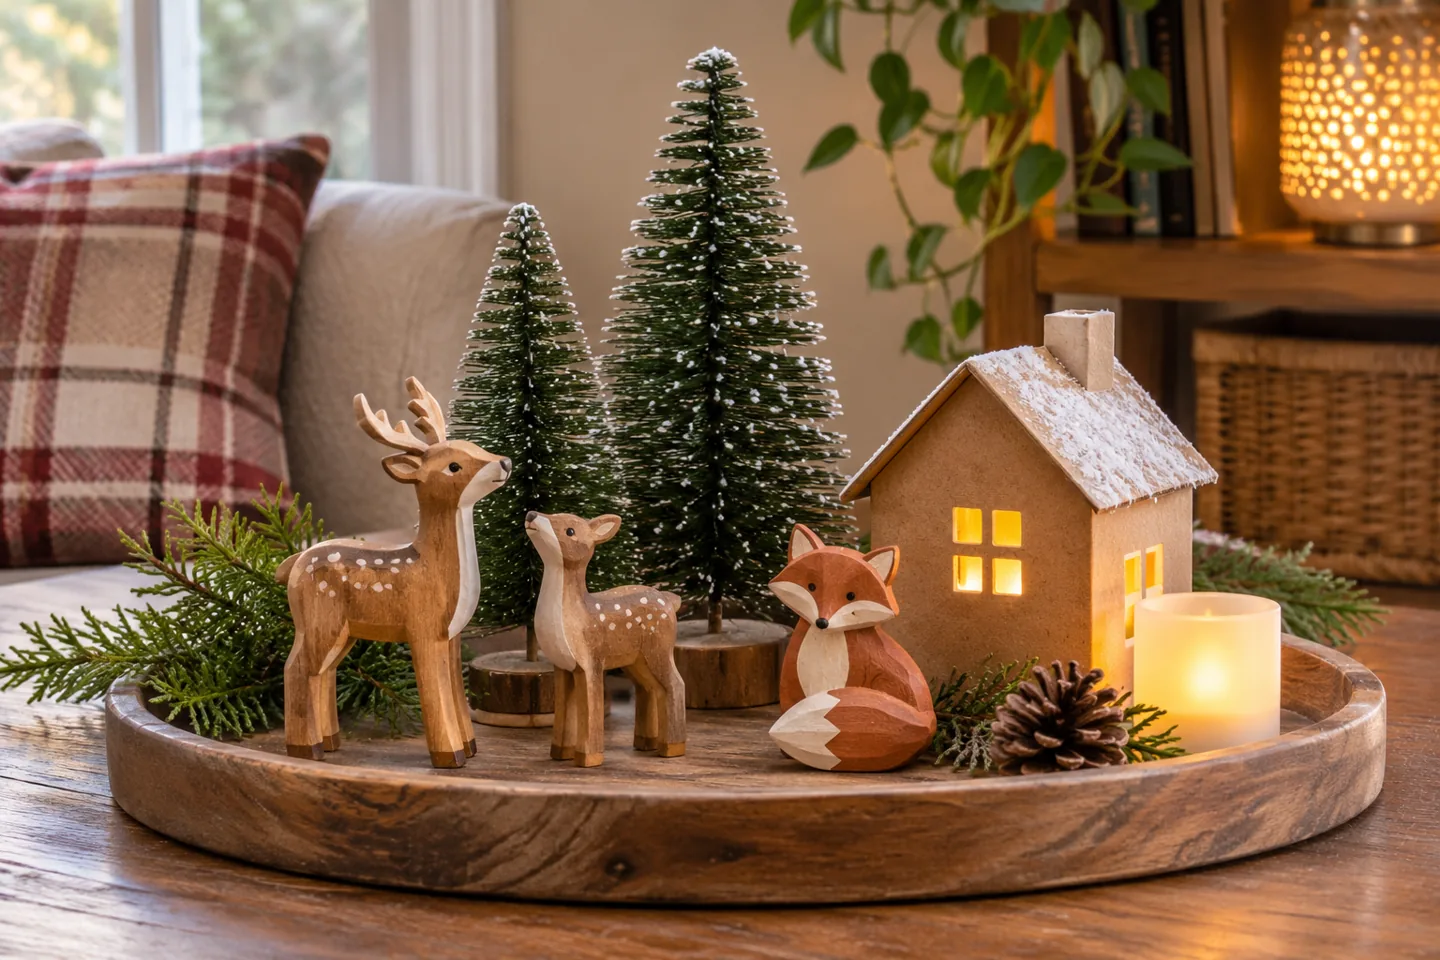
Look through the toy cupboard for a deer, fox, rabbit or other small woodland figure. Place two or three beside a miniature tree and a cardboard house on a tray. Keeping the animals roughly similar in scale makes the scene easier to read, even when their colors and finishes differ.
Let the figures face slightly toward one another instead of lining them up like a shop display. A folded cream napkin can provide a simple snowy-looking base without loose snow. You can add one tiny paper gift beside a house for an extra storybook detail.
If the toys are in regular use, make the arrangement easy to dismantle. A child should not lose access to a favorite toy for the entire holiday because it happens to match the mantel.
10. String together leftover-yarn pom-poms
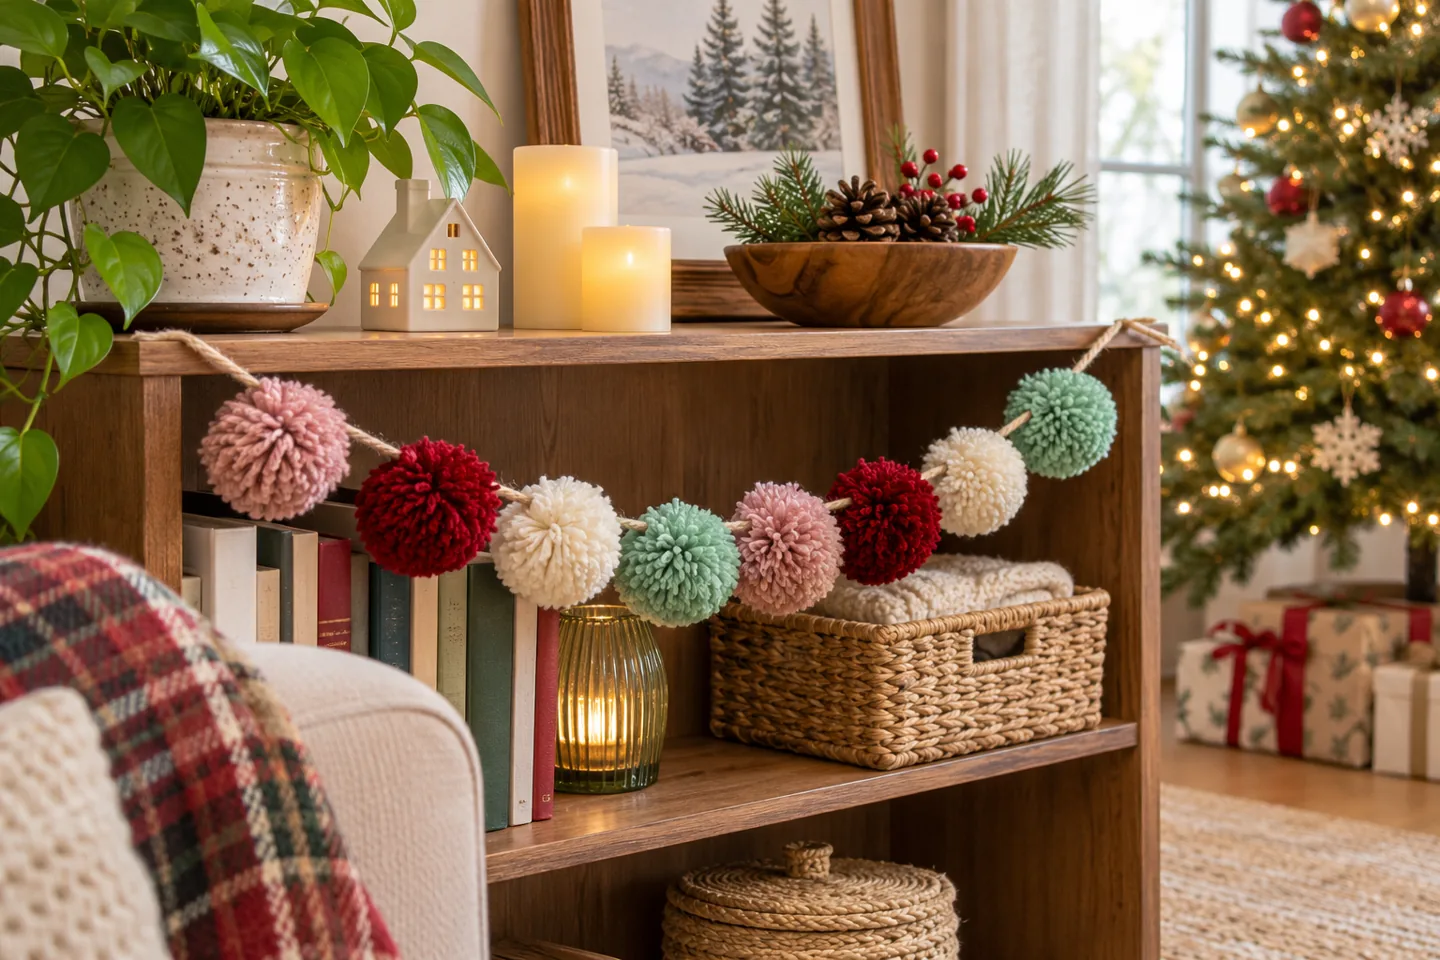
Use short lengths of leftover yarn to make a soft garland. Wind yarn around a small piece of cardboard, tie the center securely, cut the loops and trim the result into a rounded pom-pom. Make one test piece before deciding how much yarn and trimming the project needs.
Thread or tie the finished pom-poms onto sturdy string with space between them. A short garland across a shelf is easier to finish than a room-length strand. Mix cream with two brighter colors, and vary the size slightly for a handmade feel.
If you already own a felt-ball or pom-pom garland, use that instead of making another. Keep loops and loose yarn away from places where children or pets could become tangled, and check the knots before hanging.
Optional shopping: Reuse what you have first. If you need a replacement, compare dimensions, materials and storage needs before choosing.
Browse wool felt garlands on Amazon
Optional affiliate link · Opens search results, not a single product.
11. Fill an everyday bowl with bright baubles
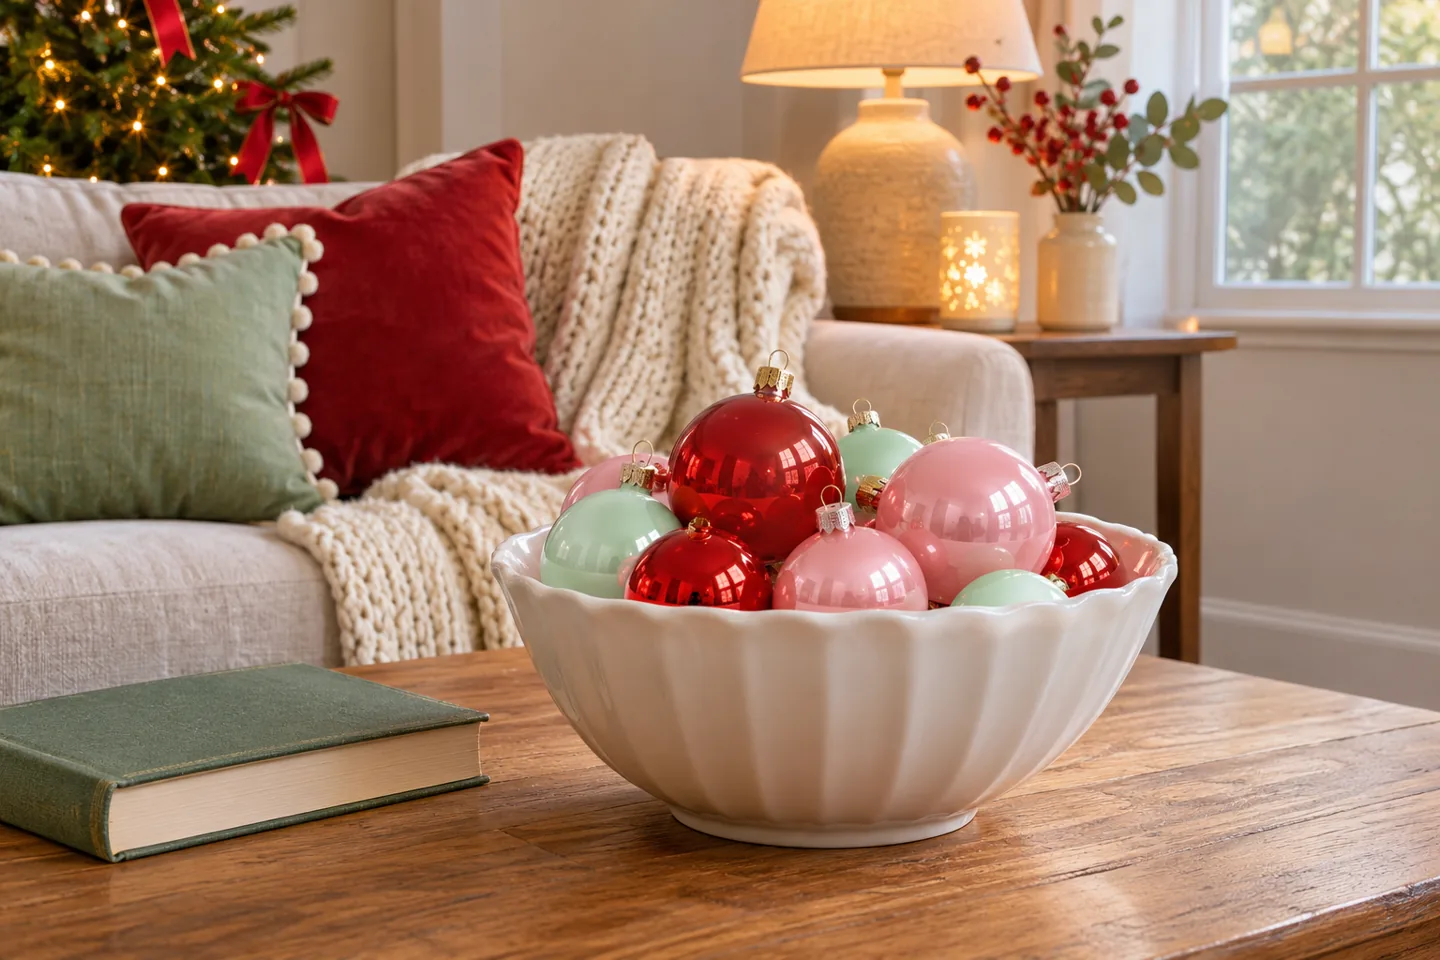
A fruit bowl becomes a cheerful Christmas centerpiece when you edit the colors inside it. Try red, pink and mint ornaments, with a few different finishes for variety. Put larger baubles underneath and tuck smaller ones into the spaces rather than stacking everything above the rim.
A plain bowl is useful here because it gives the bright colors somewhere quiet to sit. Use shatter-resistant ornaments in a busy family space if that suits your household, and leave out any damaged decorations. A folded soft cloth underneath can help keep the pieces from rolling.
Place the bowl on a sideboard, or move it to the dining table only when the table is not needed. This is one of the quickest ways to test a new palette without changing your tree.
12. Turn mismatched wrapping paper into a gift-box display
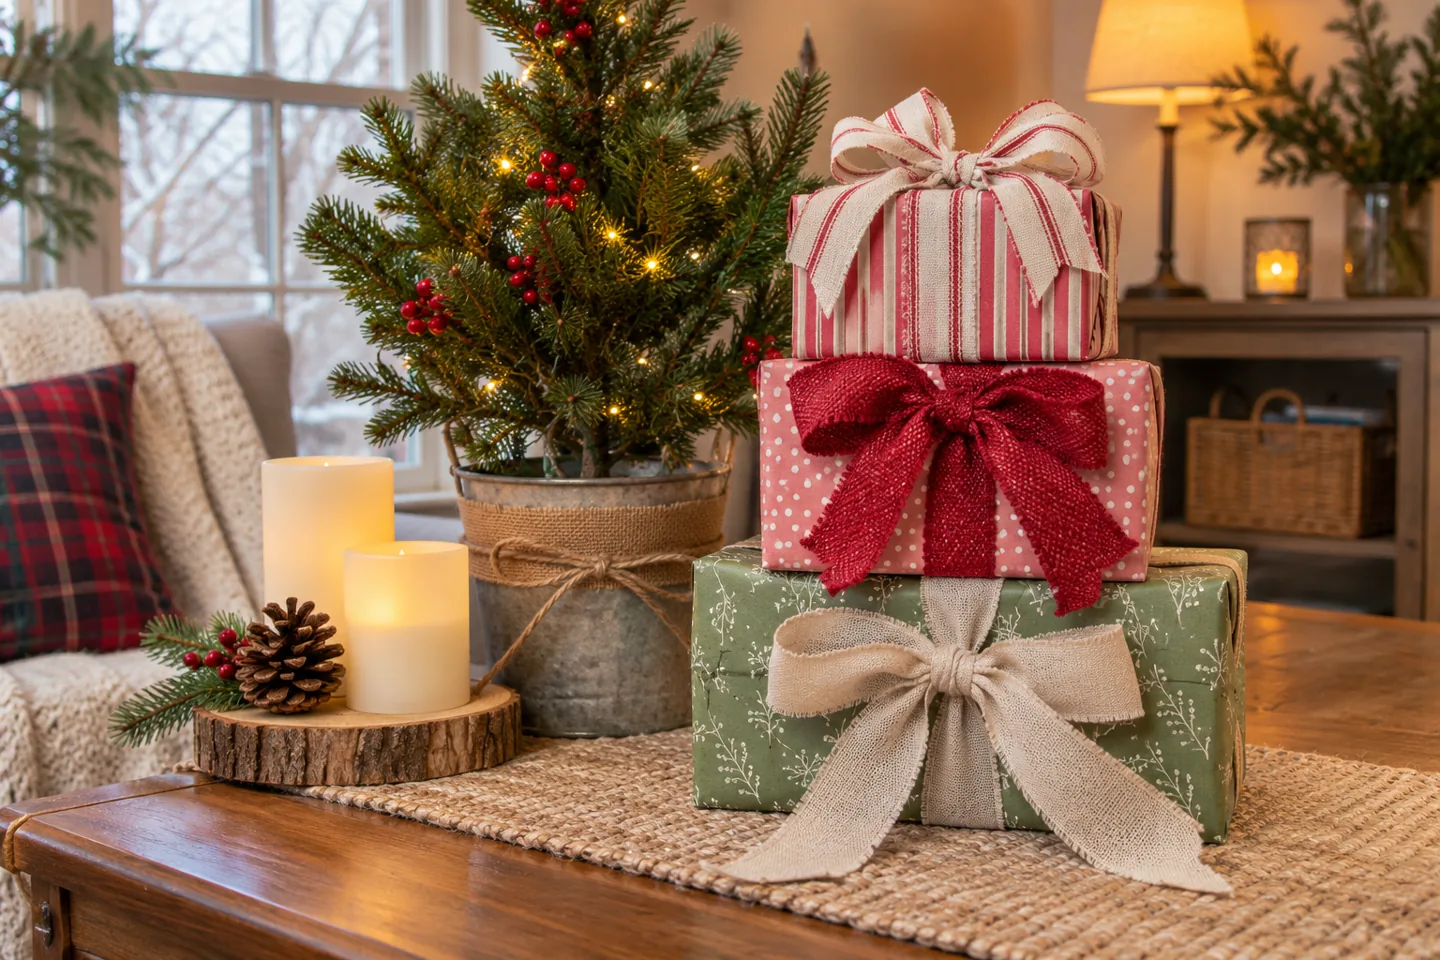
Mix stripes, dots and a small festive print across three reused boxes. Keep one color in common so the patterns feel connected. Tie on generous bows made from saved ribbon and arrange the boxes beside a tree, with the largest box providing a stable base.
Empty decorative boxes are useful when you want the look before presents are wrapped. Mark their bottoms discreetly so nobody mistakes them for actual gifts. Keep the stack low and within a defined area rather than spreading parcels into the walkway.
Use the paper left on existing rolls before buying a coordinated collection. If two patterns clash, turn one sheet over or use plain kraft paper for that box. The playful effect comes from the mixture, not from every parcel matching perfectly.
13. Hang folded paper stars from bare branches
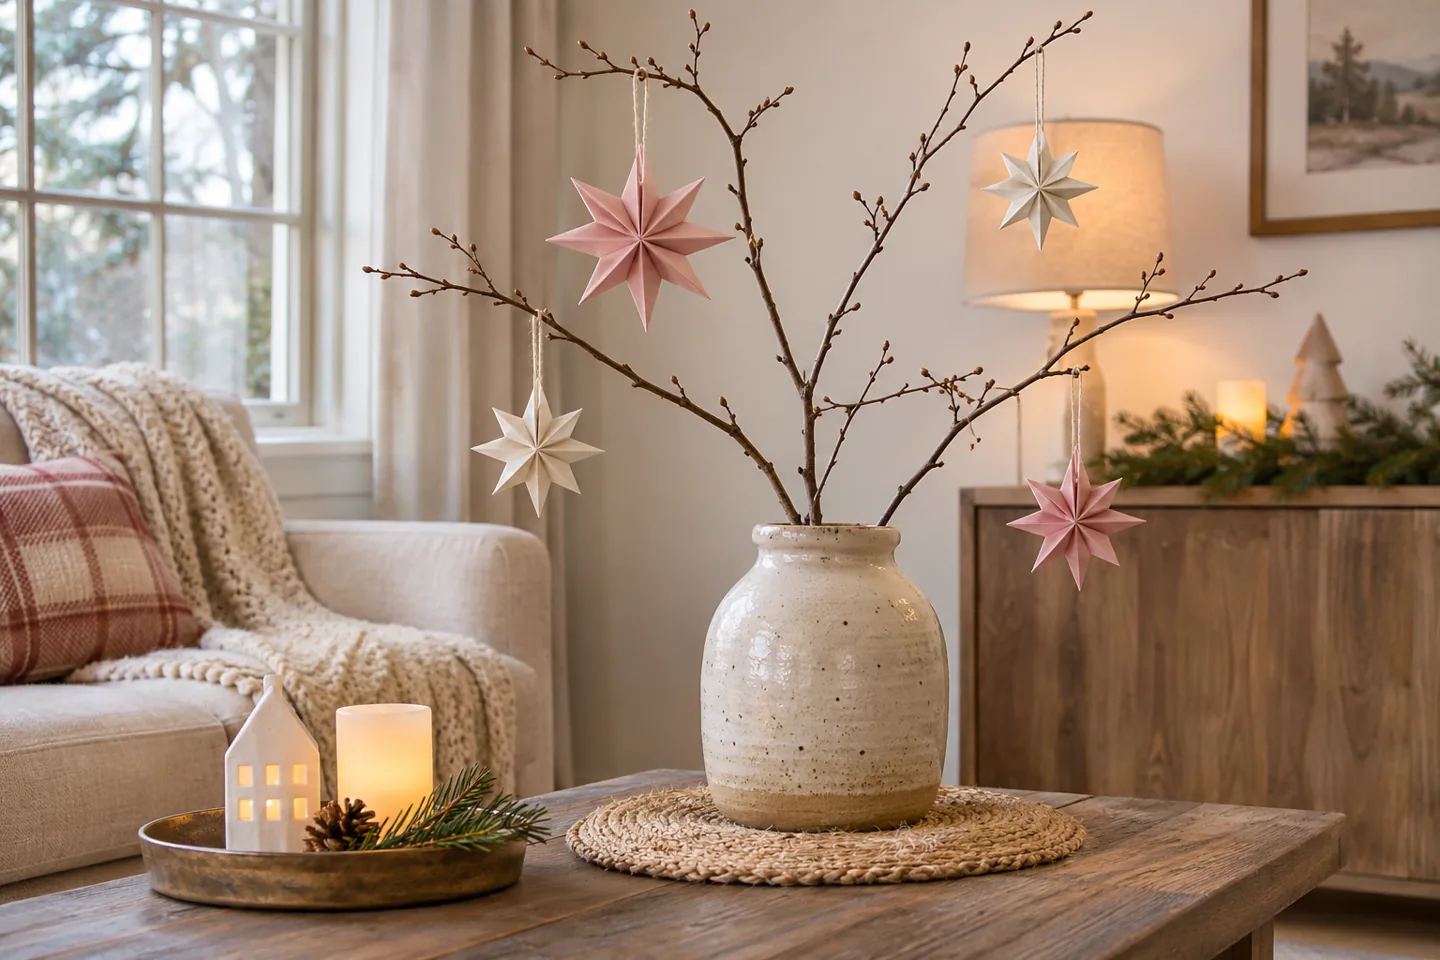
A few paper stars on branches give a room height without a second Christmas tree. Use a stable, broad-based vase and trim the branches to fit the available space. Hang lightweight stars at different lengths, leaving gaps so their points do not overlap into a single cluster.
Pink and cream stars work well in a candy-colored room, while kraft paper looks more woodland-inspired. Choose a folding pattern you can repeat comfortably, and use your first successful star as a guide for the rest. Plain paper is often easier to fold neatly than thick gift wrap.
Test the vase’s balance before adding the final ornaments. Place it where sleeves and bags will not brush past, and keep the arrangement shorter if the branches make it feel top-heavy.
14. Paint wooden craft spoons as holiday characters
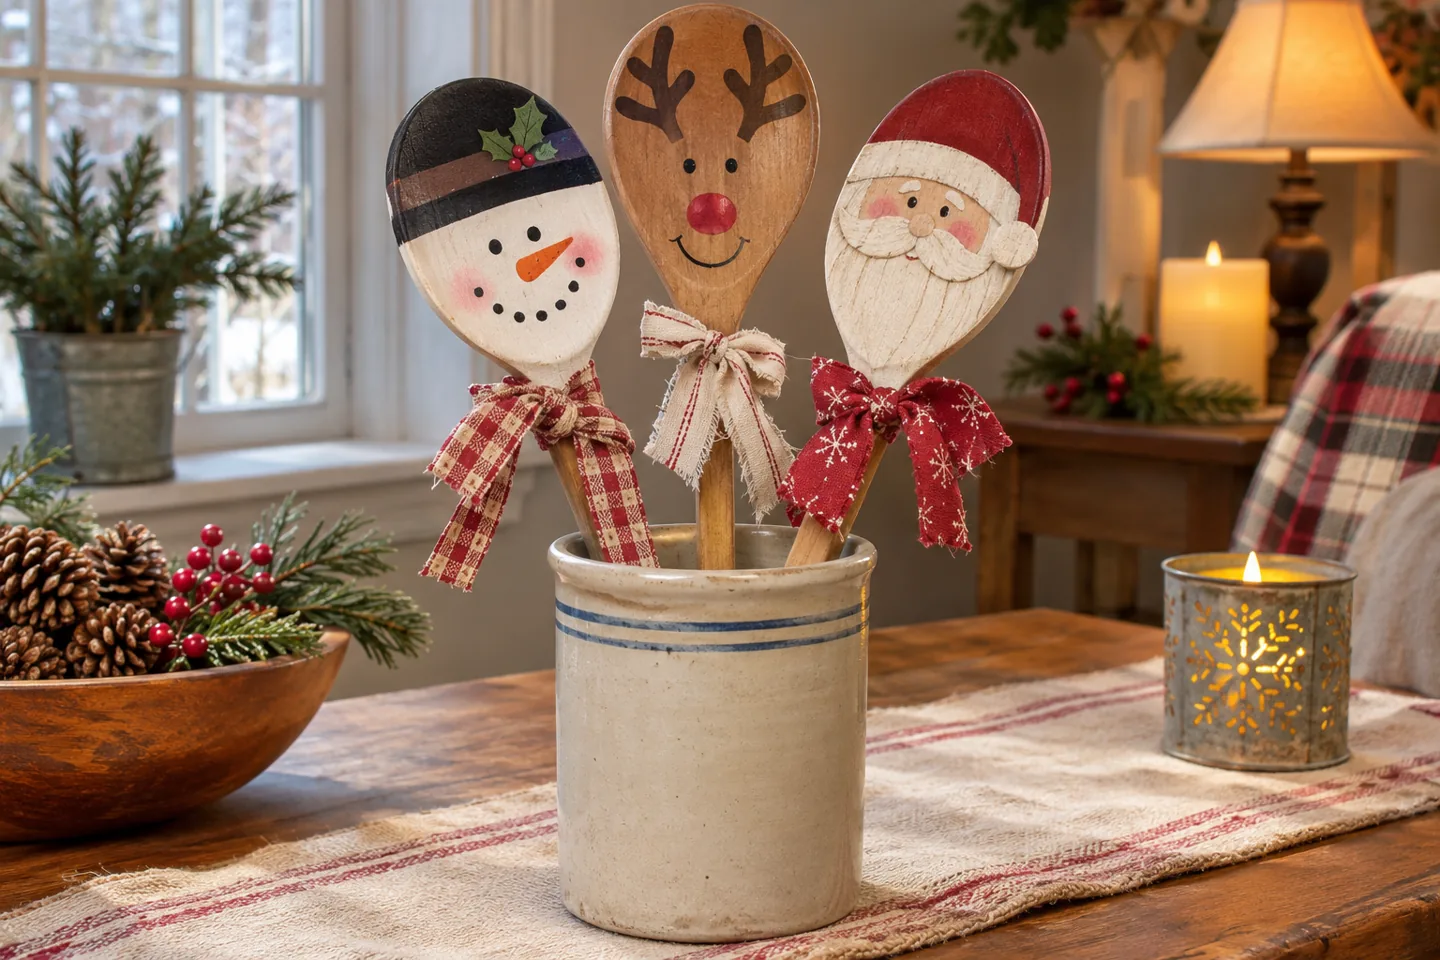
The rounded head of a wooden spoon makes a simple base for a snowman, reindeer or Santa face. Use spare craft spoons or utensils you are permanently retiring from kitchen use. Paint a few clear features, let them dry, and tie a small fabric scrap around the handle as a scarf.
Stand the finished characters in a stable crock, with the faces at slightly different heights. A paper antler shape or small felt hat can add personality, but simple painted details are enough. You could make just one character and place it beside a tiny tree.
Keep decorated spoons for display rather than returning painted or glued items to food preparation. Use materials according to their labels and choose age-appropriate tasks if children are helping.
15. Create a forest of paper cone trees
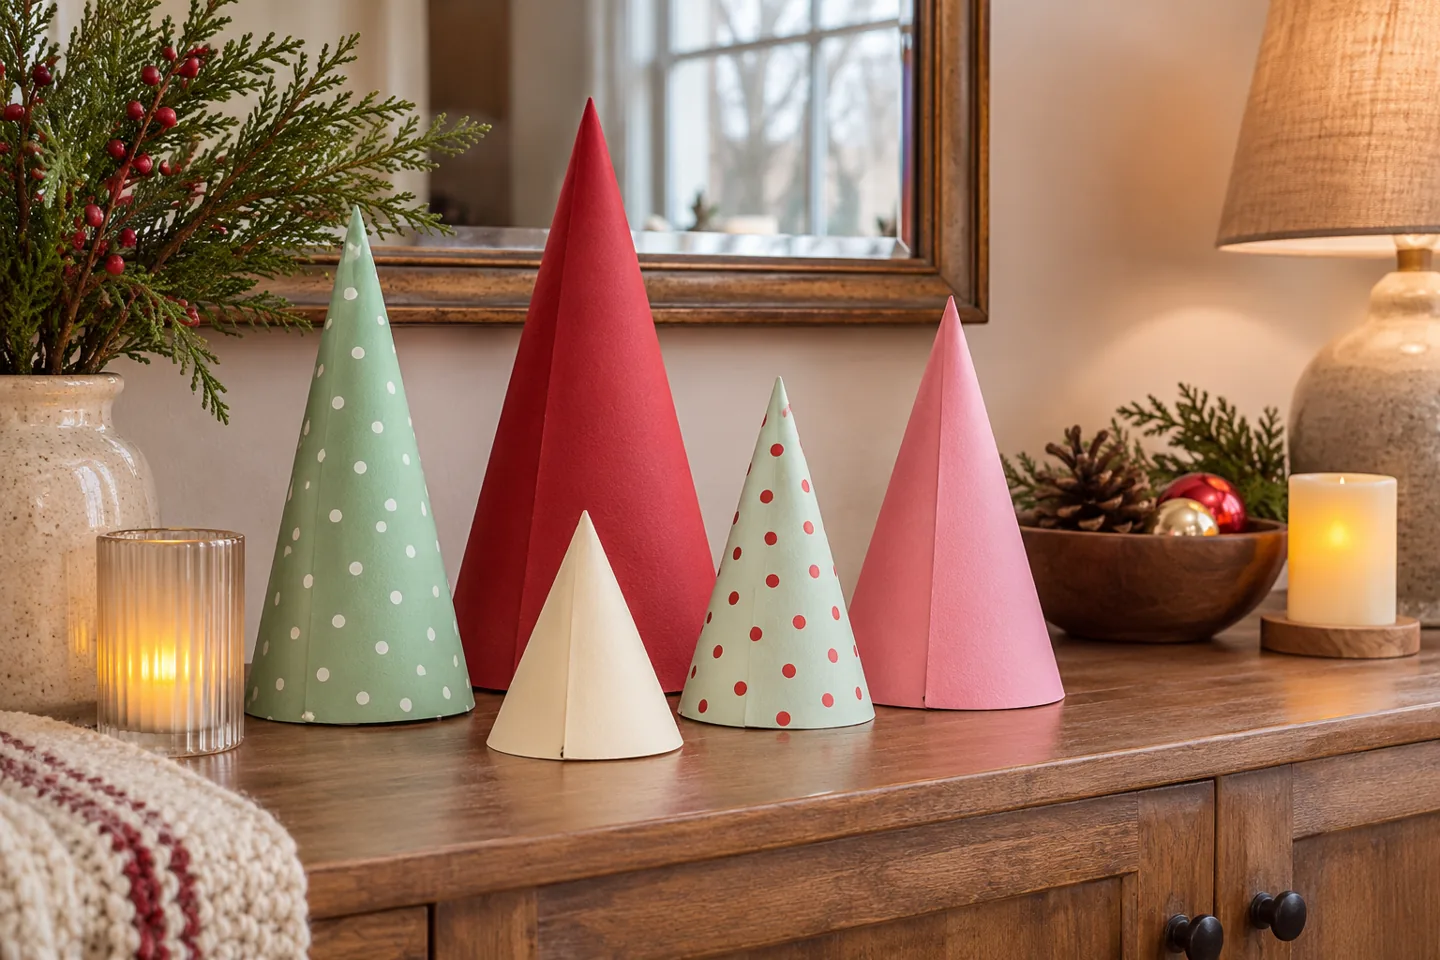
Roll a piece of cardstock into a cone, secure the seam and trim the bottom until it stands evenly. Repeat in three heights, using two or three related colors. The trees can be plain, dotted or made from patterned paper; their shared shape is what makes the group feel intentional.
Set the taller cones behind the smaller ones and keep the cluster on one shelf or tray. A tiny folded paper star can finish one tree, but every cone does not need a topper. Try this before buying miniature trees for a new color scheme.
Make the first cone from scrap paper to work out the shape. Avoid overbuying supplies for a project that only needs a few sheets, and keep finished paper decorations away from heat and damp.
16. Add star-shaped place cards to ordinary plates
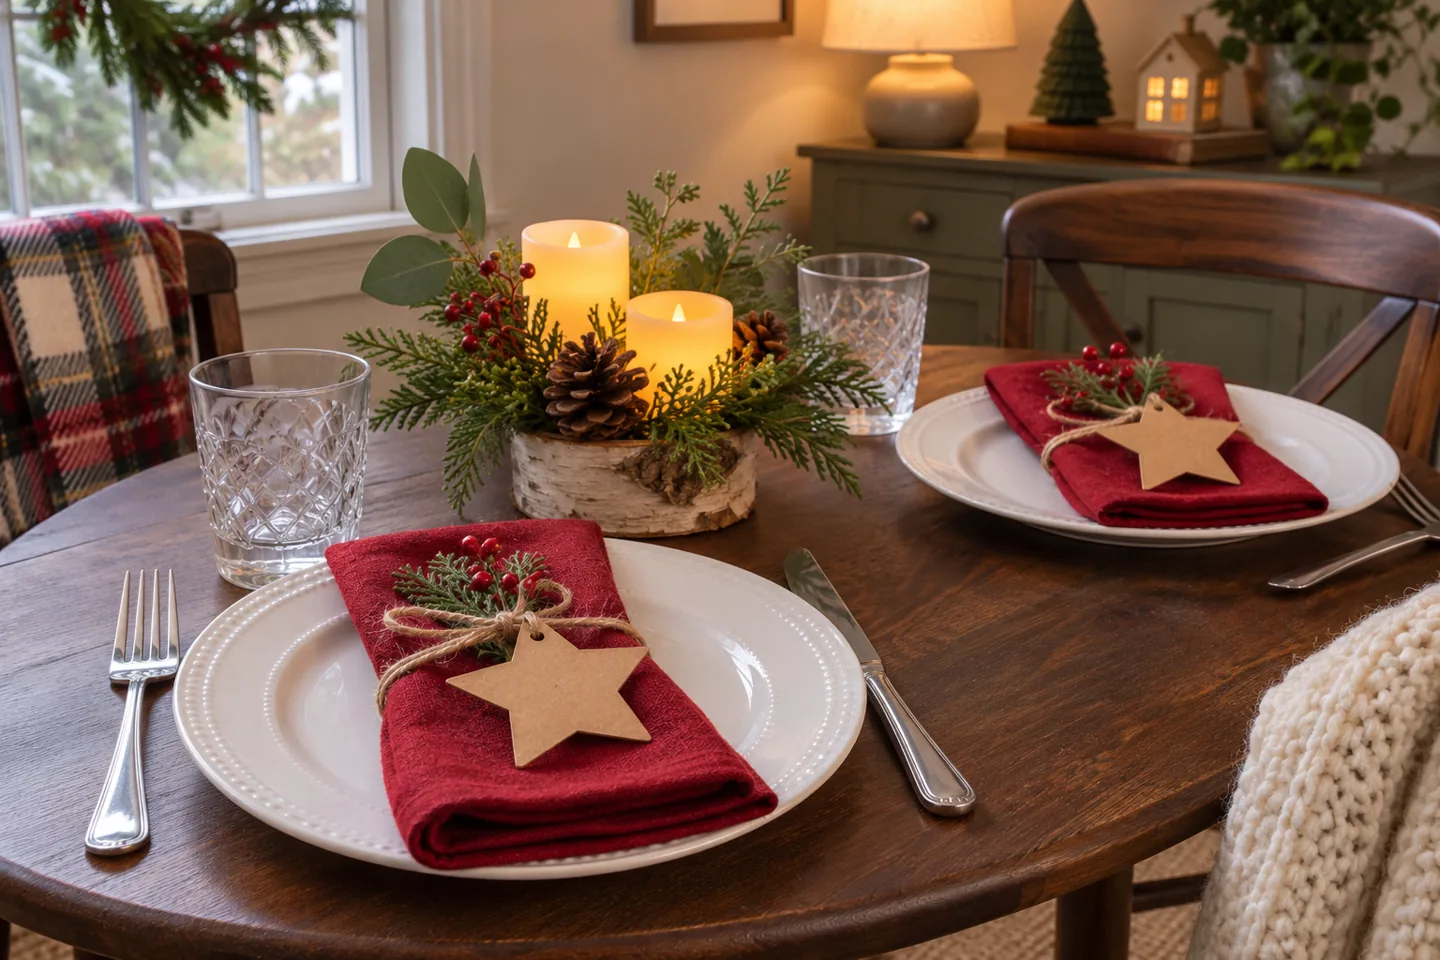
Cut simple stars from kraft paper or leftover cardstock and write guests’ names on them. Lay each star over a folded napkin on a white plate. The table immediately feels more personal, while the plates and linens remain useful throughout the year.
For a playful mix, alternate red and pink napkins or repeat one bright color around the table. Keep the centerpiece low so the place cards are not competing with a large display. The star can double as a small note: write a warm message on the back for the guest to take home.
There is no need to buy new napkins just for the photograph. A paper star over the linens you own gives the same idea a different palette, and setup takes very little room.
17. Tie colorful bows to just two dining chairs
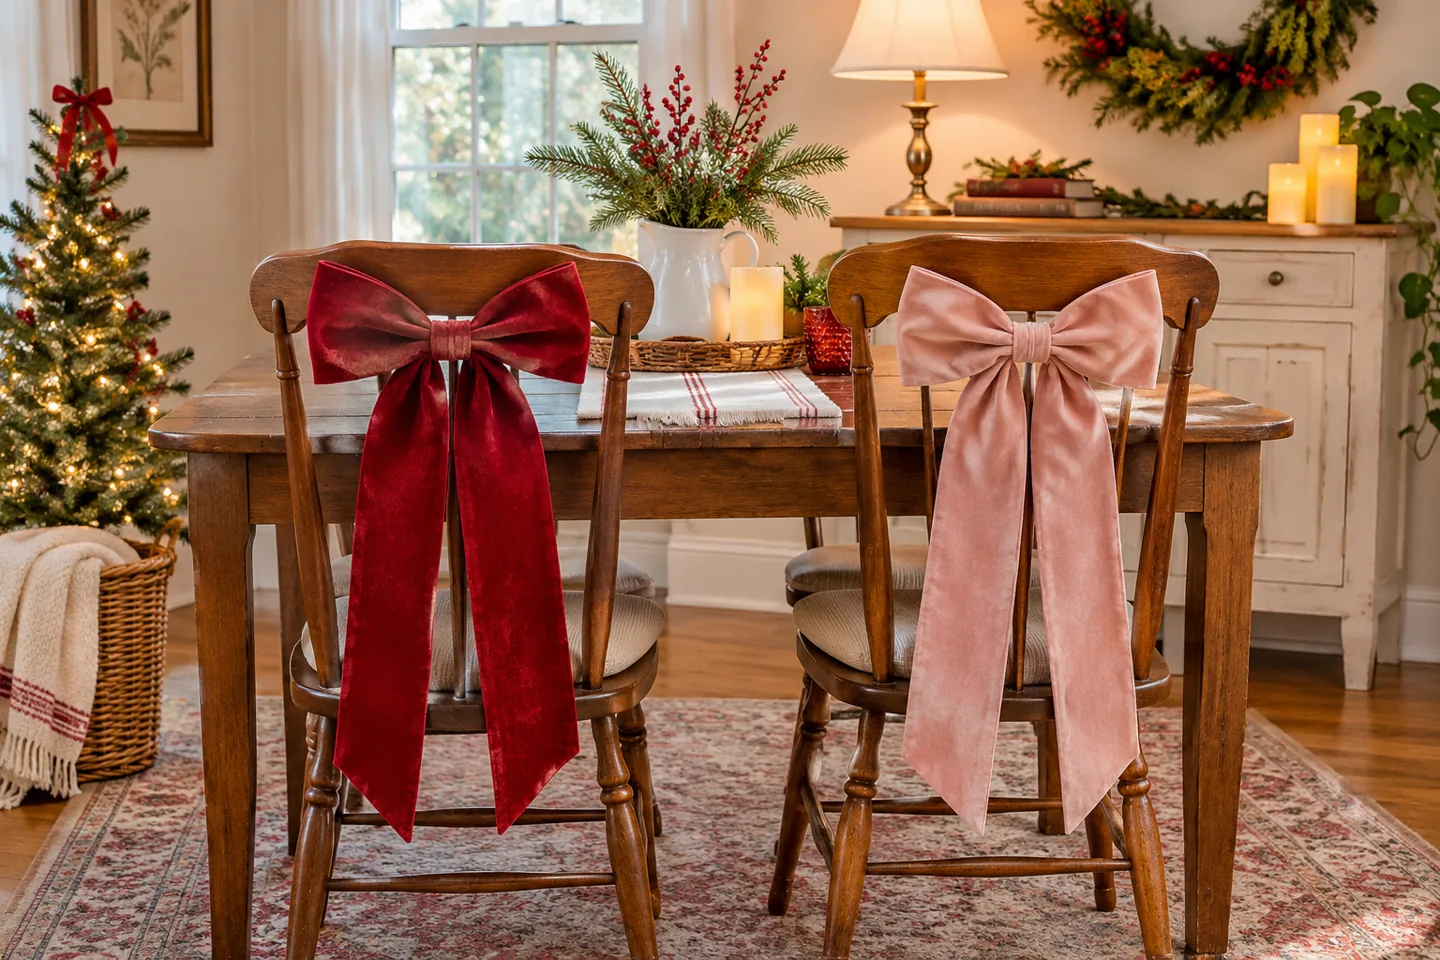
Choose the two end chairs or the pair most visible from the living room and add soft ribbon bows to their backs. Using red on one and blush on the other gives a playful variation while keeping the palette connected. Leave the other chairs plain if the dining area is small.
Tie the ribbon around a suitable part of the chair, with the knot facing outward. Sit down, lean back and slide the chair under the table to check that the bow does not interfere. Trim the tails so they stay clear of the floor and moving parts.
Reuse the same ribbon elsewhere after the meal if the chairs need to return to everyday use. Decorating every chair is optional; two well-placed bows can establish the whole effect.
18. Suspend lightweight paper peppermints at a window
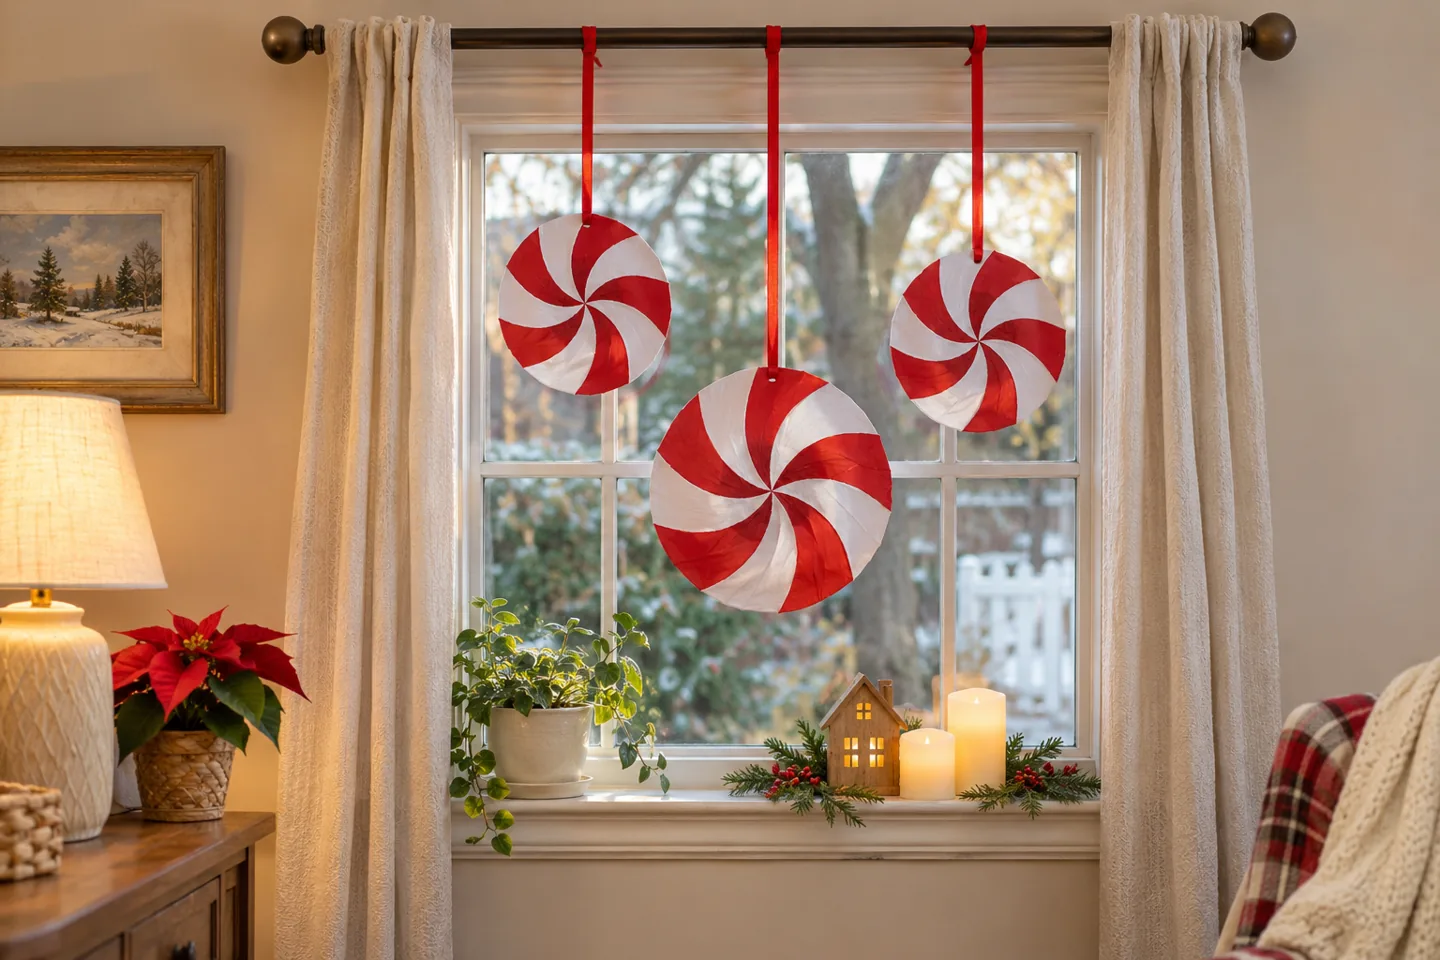
Cut circles from white cardstock and add curved red paper shapes to suggest peppermint swirls. Make three different sizes and hang them from ribbon at varied heights. If the backs are visible from outside, decorate both sides or keep the reverse neatly finished.
Use an existing curtain rod only when its fittings are secure and suitable for the small extra load. Keep the paper clear of curtain movement and leave window handles accessible. If the rod is unsuitable or you are unsure, display the discs in frames or on a shelf instead.
Oversized flat paper shapes make an impact without the weight of large ornaments. Stop at a small group: a window full of discs can block more light than you intended. For other removable setups, see our apartment Christmas decorating ideas.
19. Make dry miniature scenes in open jars
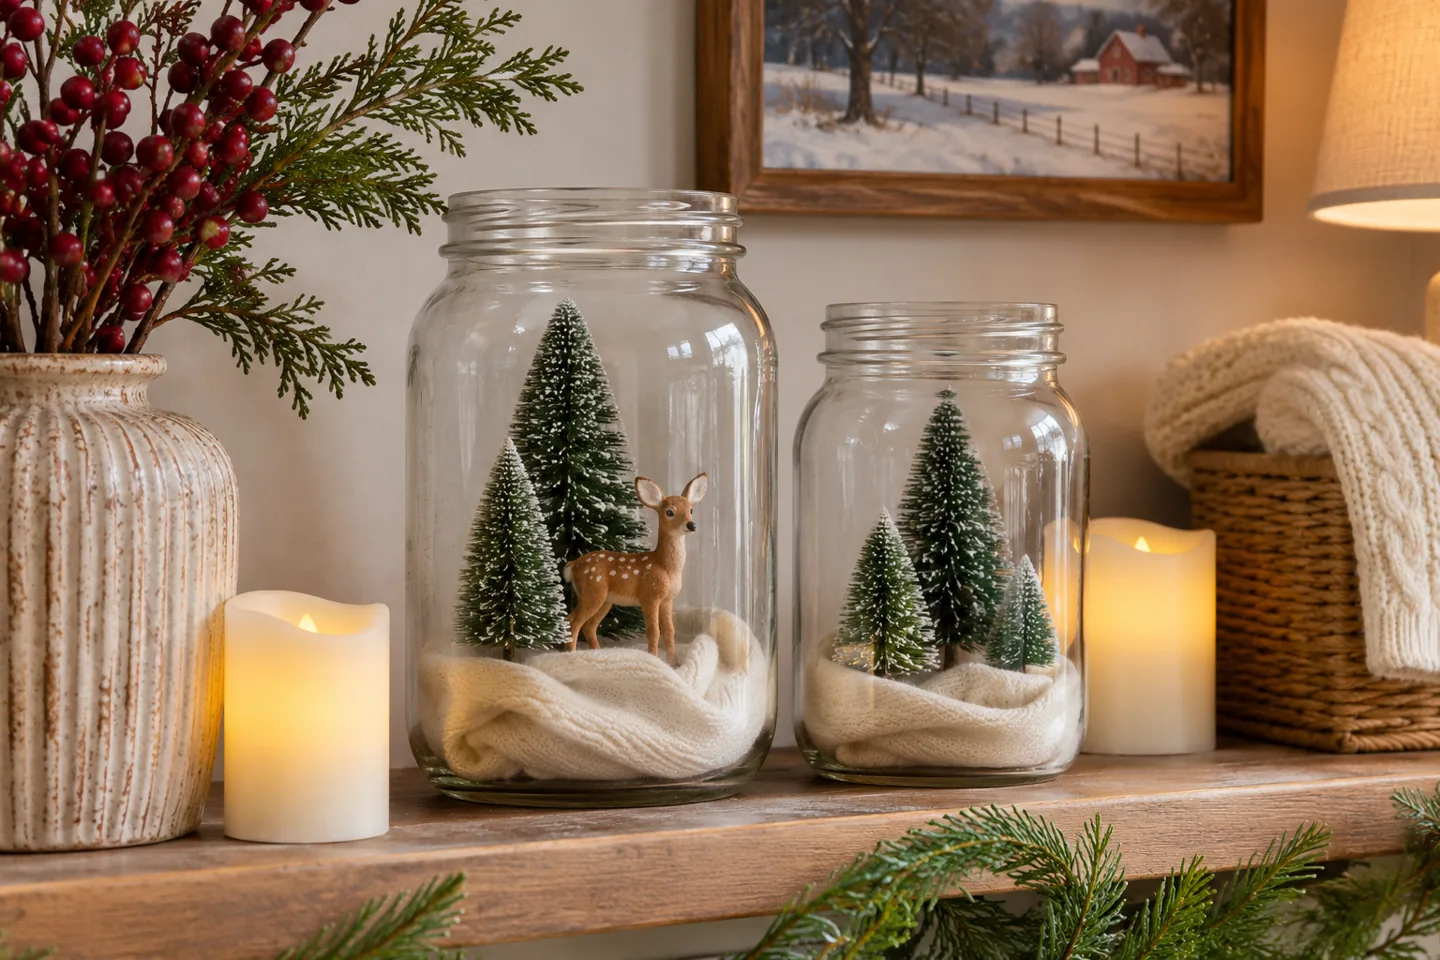
Place a tiny tree and one small animal figure inside a clean, wide-mouth jar. A folded scrap of cream fabric can suggest a snowy base. Leave the jar open, keep the arrangement dry and skip glitter or loose artificial snow that can make packing away frustrating.
Arrange two jars of different heights on a shelf, or use one beside a framed card. Choose a container wide enough that you can remove the objects comfortably. If the tree does not stand well, use a small removable base rather than permanently gluing it into a household jar.
This gives you a snow-globe-inspired scene without water or shaking. Use a less breakable container where glass is unsuitable, and return the jar to its ordinary role once the holiday pieces are removed.
20. Mix stocking patterns within the same palette
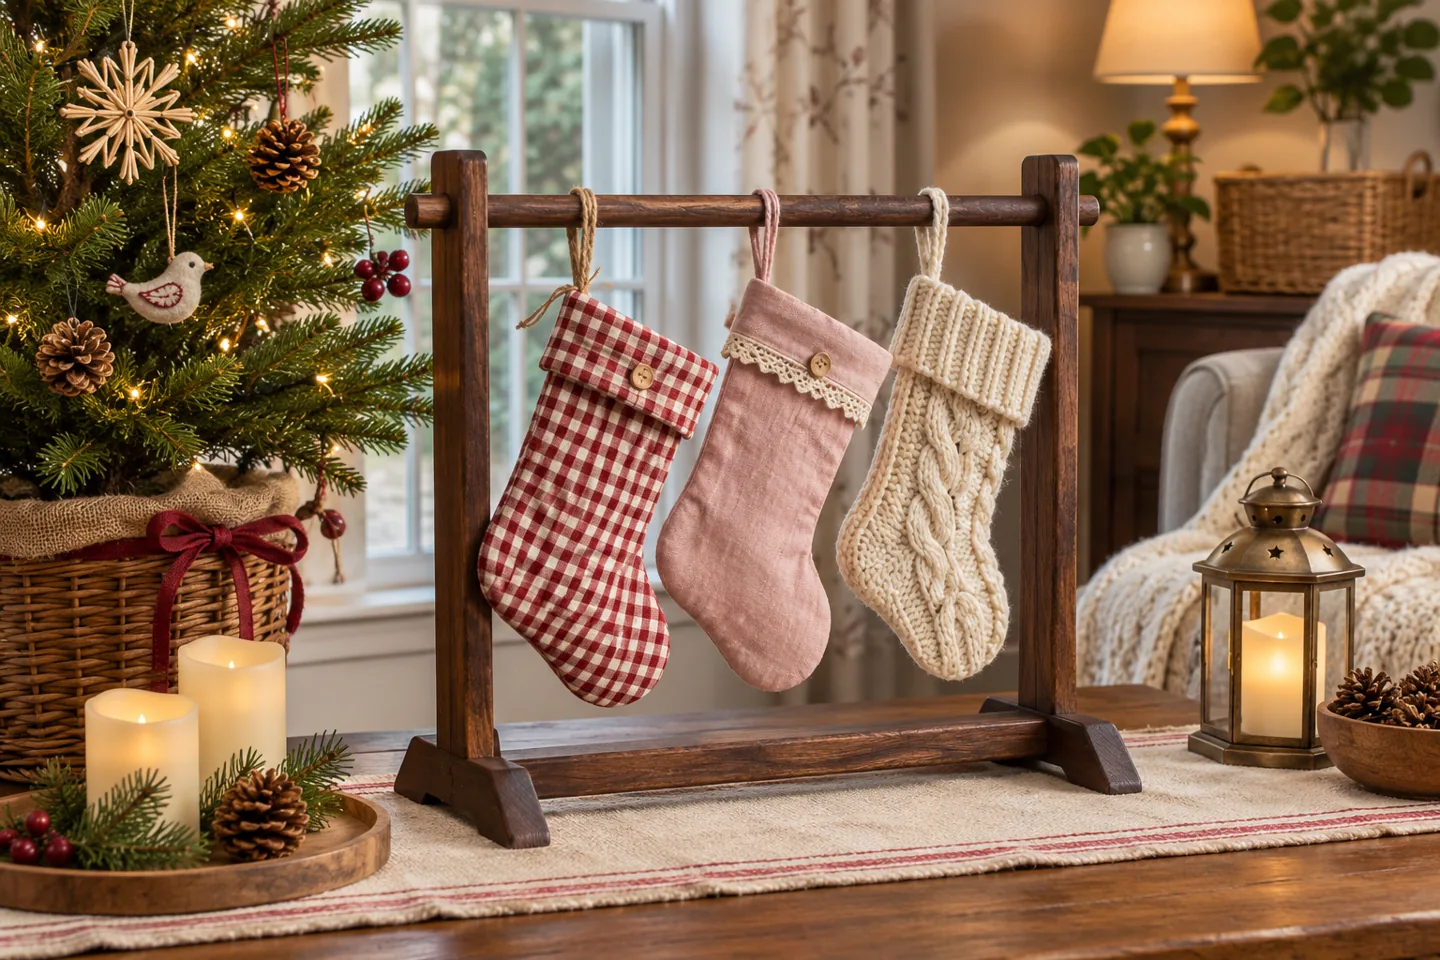
Gingham, a soft knit and a plain pastel stocking can look charming together when their colors repeat elsewhere. Arrange them in a small group on a suitable existing support or stable freestanding rack. Vary the textures while keeping the overall sizes reasonably similar.
Use stockings you own before buying a matching set. An old stocking outside the palette can become the special sentimental piece, with the others chosen to complement it. A short ribbon loop or removable bow is enough to connect it to the group.
Follow the support’s weight limits and keep the display stable; stockings become much heavier when filled. If you do not have an appropriate place to hang them, fold or drape them in a basket for an equally playful seasonal detail.
Optional shopping: Reuse what you have first. If you need a replacement, compare dimensions, materials and storage needs before choosing.
Compare freestanding stocking holders on Amazon
Optional affiliate link · Opens search results, not a single product.
21. Run a little wooden train around a tabletop tree
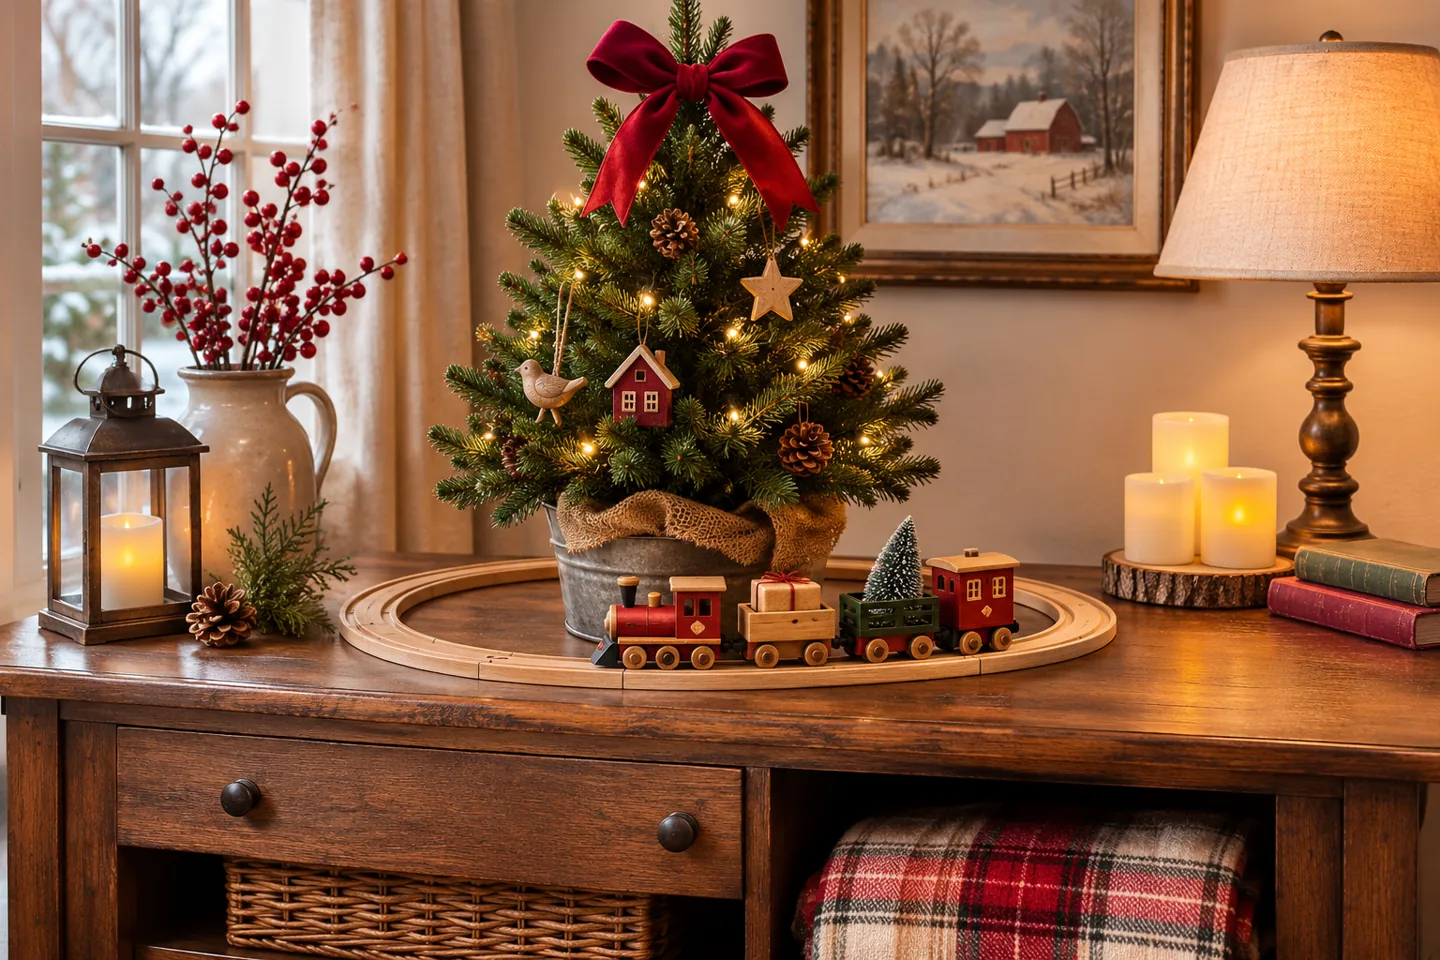
A toy train gives a miniature tree a storybook setting. Assemble a short loop of track on a broad, sturdy console, then place a small tree in the center with its base fully supported. Keep the entire track inside the tabletop edges and leave a little breathing room around it.
Use a train already in the toy collection if possible. A short static display can look lovely without a motor, sound effects or new electrical parts. Choose a few cars in colors that work with the ornaments rather than filling every section of track.
If you are comparing a new wooden set, check the assembled track dimensions and any compatibility requirements first. Follow age guidance for toys and keep the arrangement easy to take apart if the train is still used for play.
Optional shopping: Reuse what you have first. If you need a replacement, compare dimensions, materials and storage needs before choosing.
Compare wooden train sets on Amazon
Optional affiliate link · Opens search results, not a single product.
Choose a whimsical theme that uses your existing supplies
| Look | Colors | Start with these ideas | Reuse first |
|---|---|---|---|
| Candy-shop Christmas | Red, blush, cream | Paper bows, peppermint discs, bright ornament bowl | Gift wrap and plain bowls |
| Storybook woodland | Green, brown, soft red | Felt mushrooms, toy animals, cardboard village | Toys, cardboard and small trays |
| Soft pastel Christmas | Mint, pale pink, white | Bottlebrush forest, paper cones, folded stars | Paper scraps and existing miniature trees |
Choose the row closest to what you already own. If most of your decorations are red and green, you can get the candy-shop effect by adding a little blush paper; replacing the entire collection is unnecessary. If you have wooden toys and neutral furniture, the woodland version may require almost nothing new.
Keep the strongest pattern in one place. A striped wreath bow can lead the room while smaller bows stay plain. If several objects have busy patterns, group them with simple containers and leave more open space around them. Whimsical does not have to mean every surface is full.
A practical way to control the decorating budget
Make two lists before you start: supplies already available and supplies genuinely missing. Then choose three ideas that use as much of the first list as possible. For example, cardboard houses, framed wrapping paper and an ornament bowl can all work with common household materials. Buying a specialist tool for each project defeats the purpose.
Put your own total spending limit at the top of the second list. Include delivery charges, adhesives and finishing materials when comparing a handmade project with a finished decoration. No particular project has a fixed low cost for every household; it depends on what you already have and what is available locally.
If you want one premium piece, choose something reusable that solves an actual need, such as a correctly sized tabletop tree or a wreath you will enjoy for years. Let paper, ribbon and reused containers supply the playful seasonal details. A more expensive object is optional, and a higher price alone does not tell you whether it fits your home.
Three combinations you can put together without decorating the whole house
A cheerful bookshelf
Use the paper chain across one shelf, stand a framed piece of wrapping paper below it and place a small ornament bowl on the next shelf. Repeat two colors in all three pieces. Leave the remaining shelves largely as they are, so the decorated section has a clear boundary.
A woodland sideboard
Arrange the cardboard village toward the back, with two toy animals and a tiny tree in front. Put the smallest loose pieces on a tray so the display moves together. If you also want mushrooms, include one or two in the scene instead of building a second busy arrangement beside it.
A playful dining corner
Tie bows on two chairs and place a paper star on each napkin. Add a low cone-tree group only if it leaves space for serving dishes and conversation. This is enough to make the table feel festive without buying a new dinnerware set.
Pack the handmade pieces so they are worth making again
Photograph each finished arrangement before taking it apart. Store flat cardboard houses and framed-paper inserts together, cushion paper bows so their loops do not crush, and keep garlands loosely coiled. Fold honeycomb decorations only as their construction allows. A rigid box is usually more useful for delicate paper shapes than a bag stuffed under heavier ornaments.
Return borrowed bowls, toys and trays to their usual places. Keep the small seasonal components together and label them by display. For more ideas built around household objects, see simple Christmas decor using what you already own.
Frequently asked questions
What makes Christmas decor whimsical?
Unexpected scale, cheerful color and small storybook details create the effect. Think oversized bows, miniature villages, toy animals and playful paper shapes. You can add those details to an ordinary green tree and familiar furniture.
How do I make whimsical Christmas decor look coordinated?
Repeat two main colors, use simple containers and choose one main display. Mix the shapes and textures while keeping some colors consistent. If the room feels busy, remove an entire small arrangement rather than adding more pieces to connect it.
Can I create this look without buying a new tree?
Yes. Paper bows, a few honeycomb ornaments or a new ribbon color can change the look of an existing tree. You can also concentrate on shelves and tabletop scenes and leave the tree’s familiar decorations untouched.
Which ideas are easiest when I do not enjoy crafts?
Try the bright ornament bowl, framed wrapping paper, grouped miniature trees or a toy-animal scene. They mainly involve arranging things you already own. Save paper folding and pom-pom making for a day when you actually want a craft project.
How can I keep a small room from feeling cluttered?
Decorate one main area and repeat its colors in two small accents. Contain loose pieces on trays, keep walking routes clear and leave seats and serving surfaces useful. A few playful details can carry the theme.
Do I need to buy the linked products?
No. The shopping links are optional comparison starting points for missing pieces or reusable upgrades. Start with household supplies and existing decorations, and skip any idea that would require more spending than you want.
More ways to decorate with what you have
Product planning references: check the dimensions on Balsam Hill’s tabletop tree listings and the set details and age guidance on BRIO’s train-set listings. Follow the instructions for the specific item you use.